You know, I think it's kind of silly how precious some photographers are about their presets. I kind of get it. It's the baseline for their visual style and professionals usually aren't fond of being copied, especially when there’s money to be made.
I, however, think the world is big enough out there for the both of us. I want to share FOR FREE! I’m not trying to make money from these, I’m just hoping to help some folks out with some color grading I am very proud of.
I developed this set of presets in late 2016 and have been using them ever since. They come from the primordial soup that was the film-look craze of the mid-2010s. Can you believe that most photographers back then weren’t color grading their photos? They’d adjust white balance, saturation, contrast, etc, but actual color grading was a bit of a lost art for a while.
Those of us that adored the look of film did a lot of development work on our color profiles and it really set the stage for the modern digital looks of today.
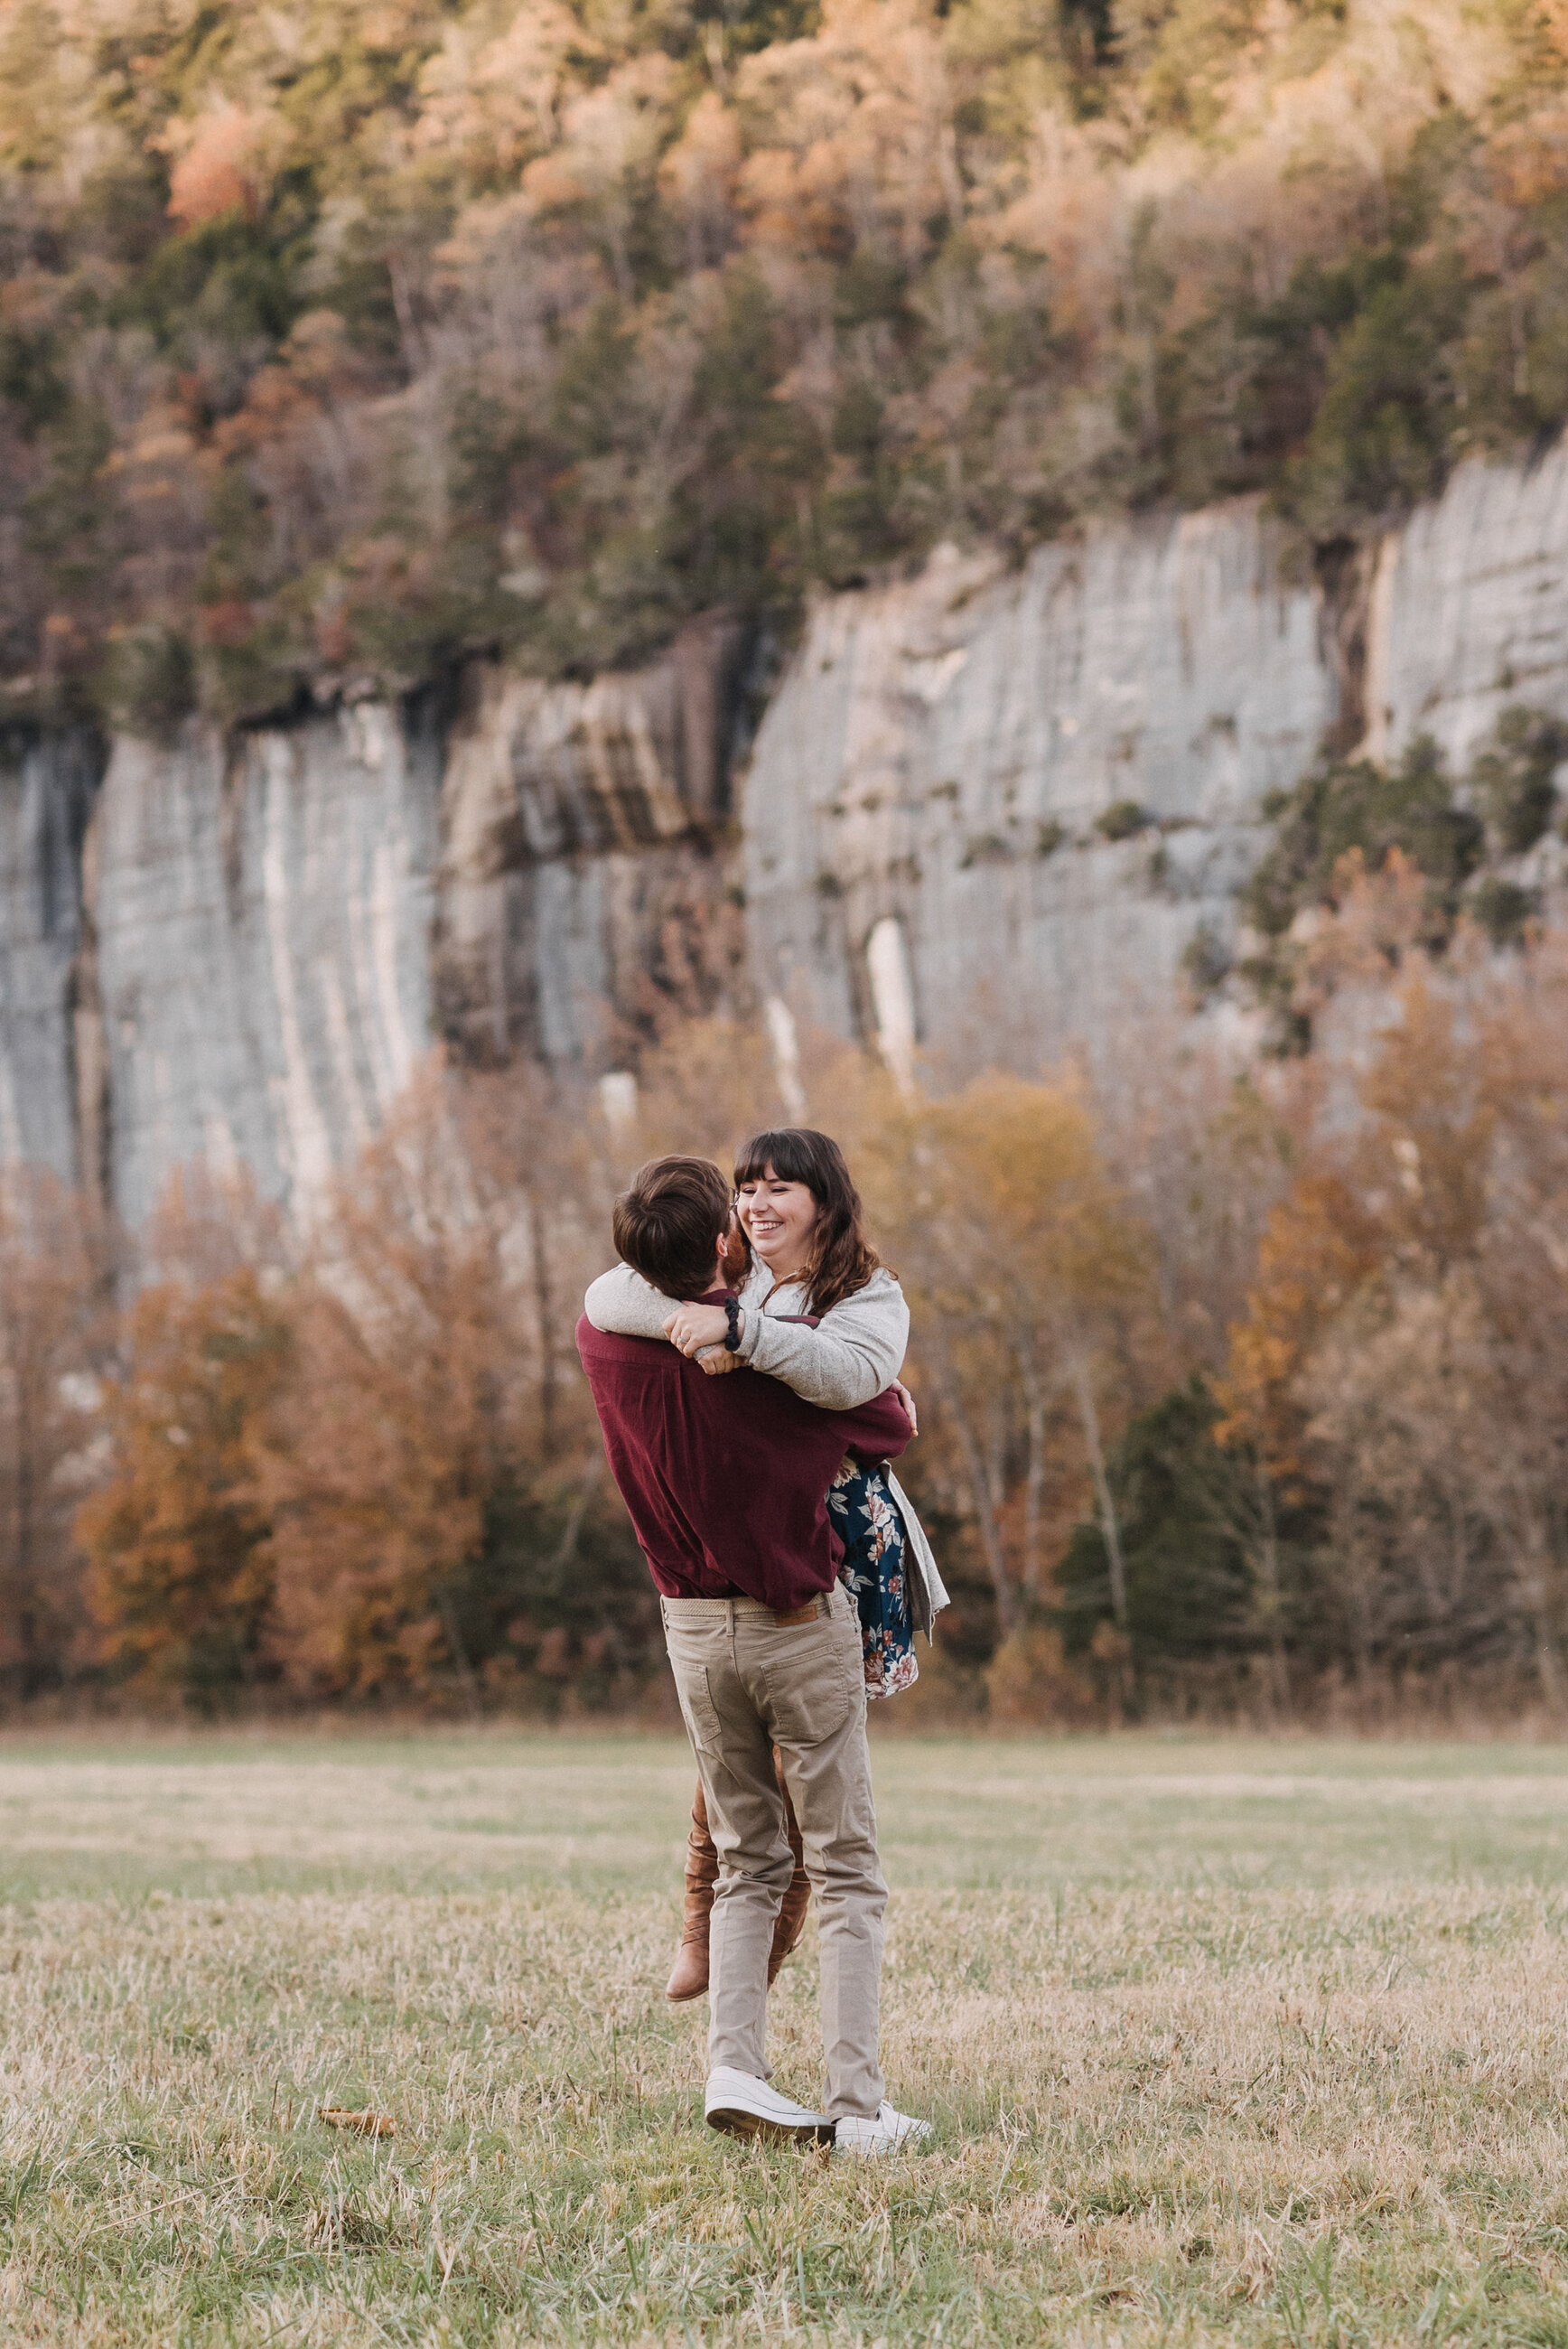
This isn’t a strict film emulation. It seeks to emphasize that dark, moody, and cinematic look that exists somewhere between film and fantasy.
This pack includes four color presets and one that is for black and white. These presets make up about 90% of the color grading work I do for clients.
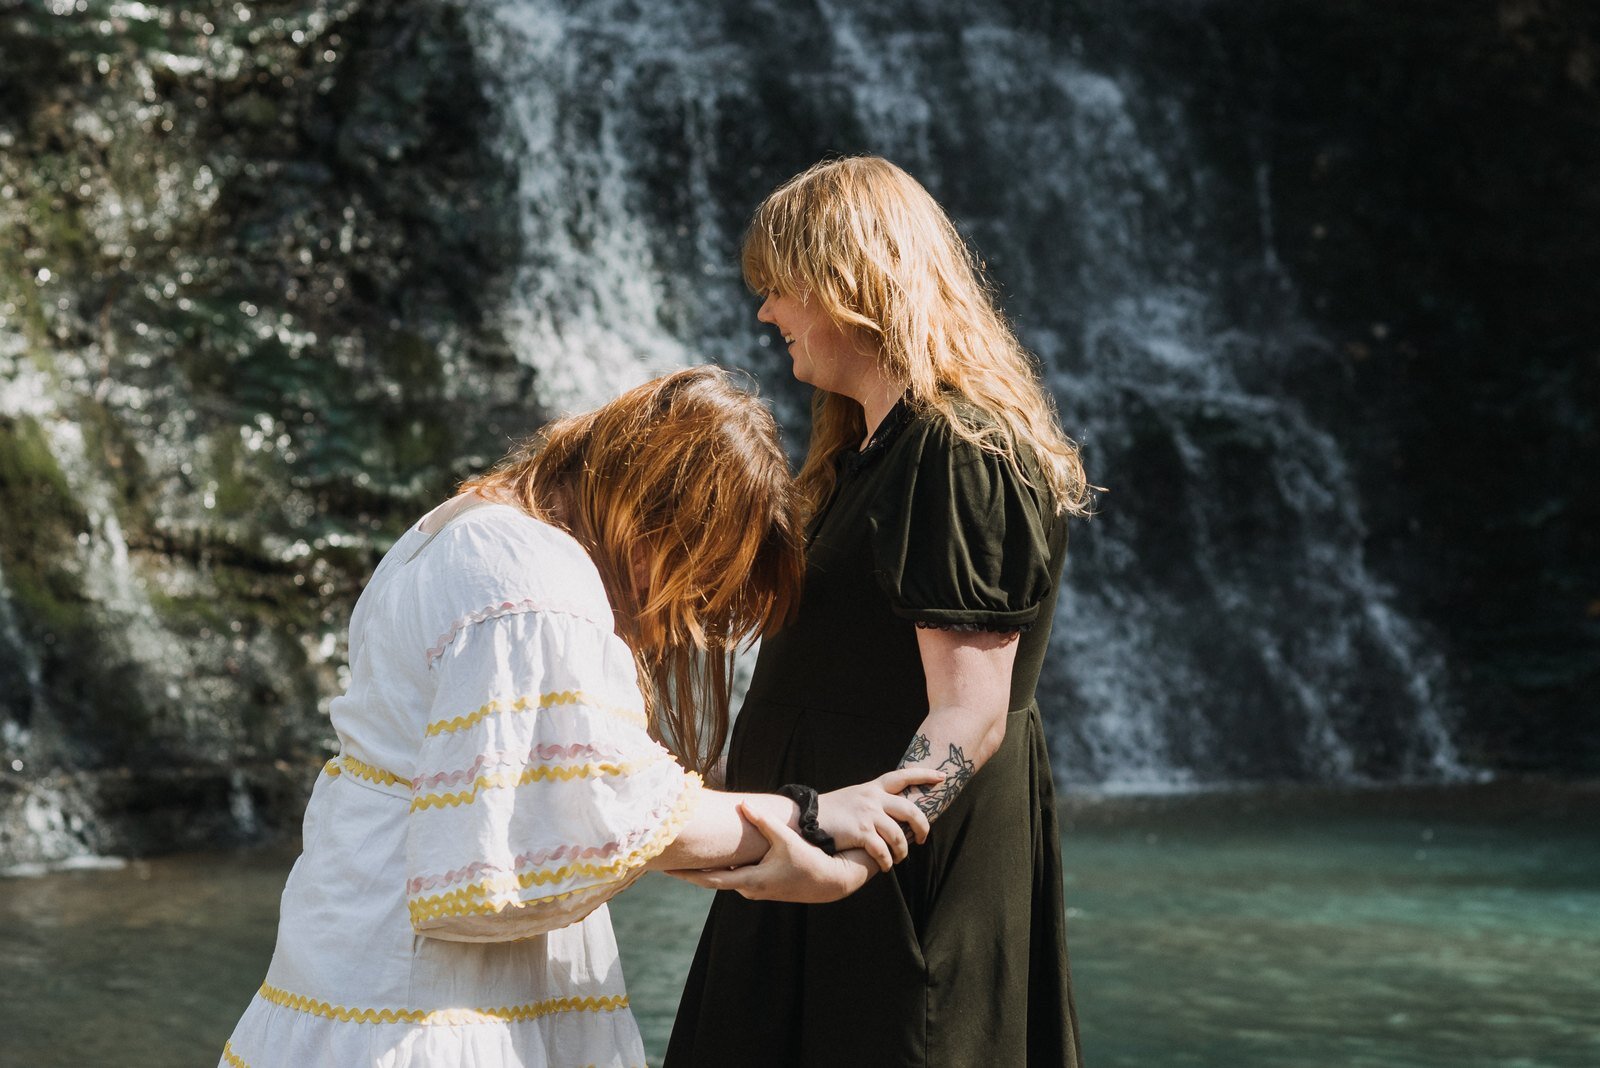
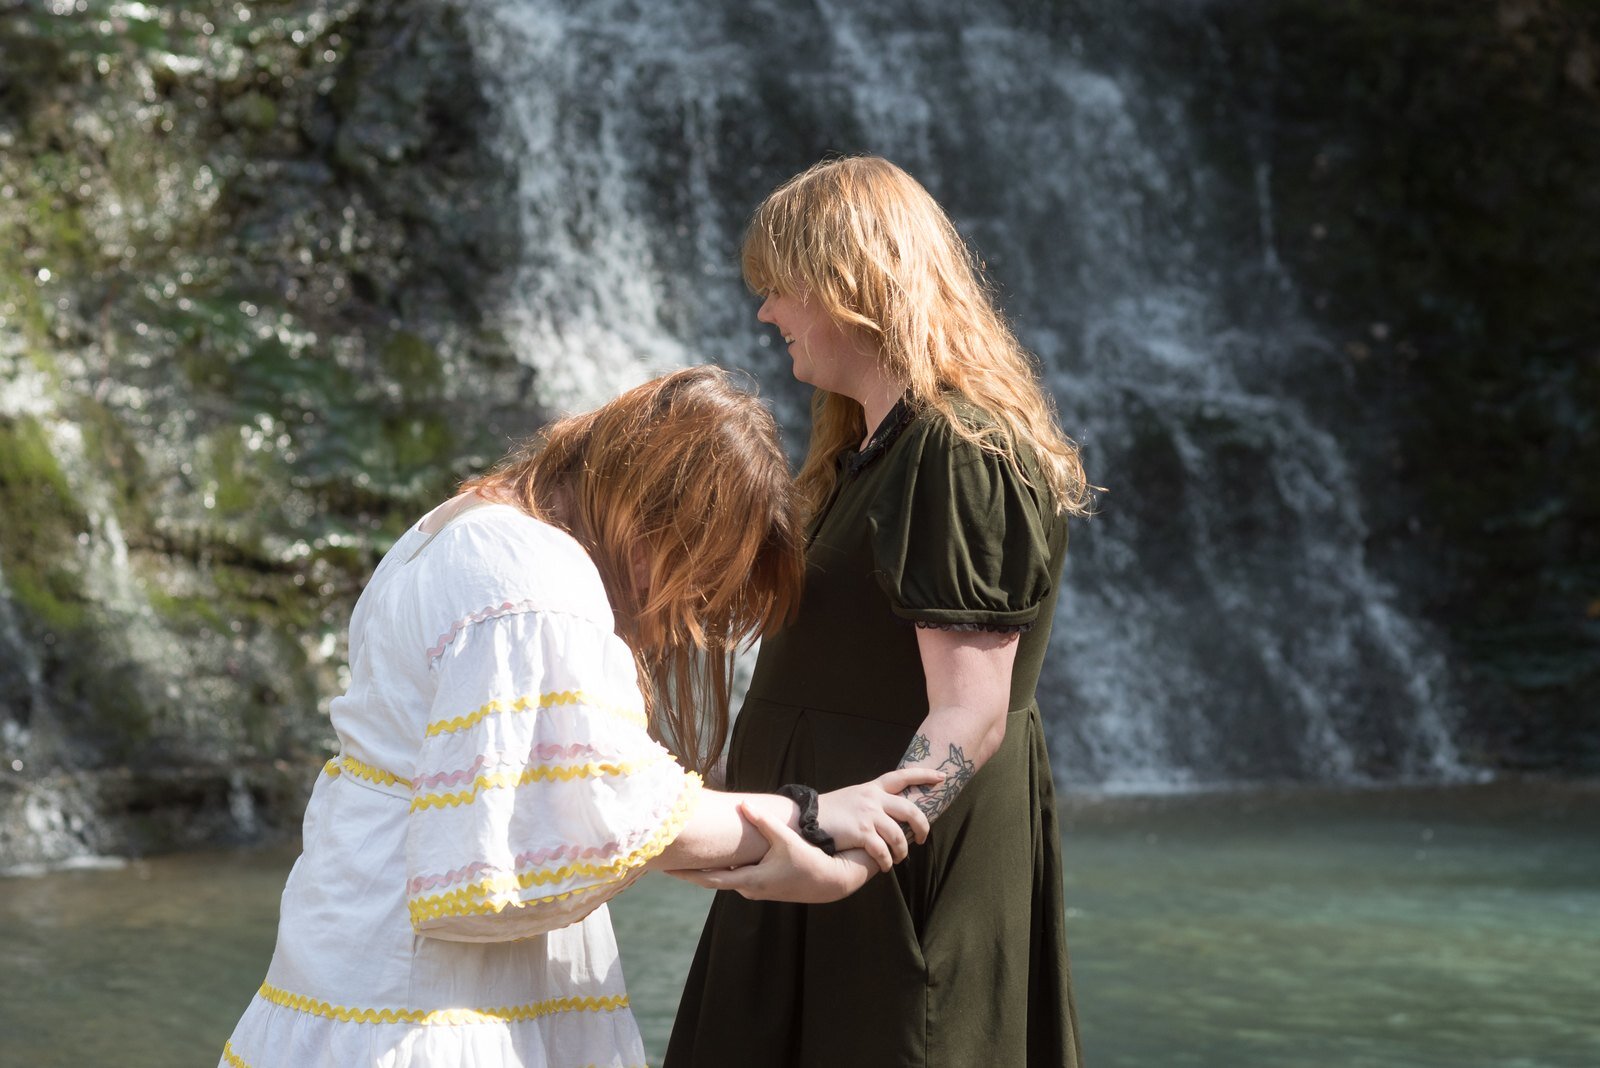 Before
After
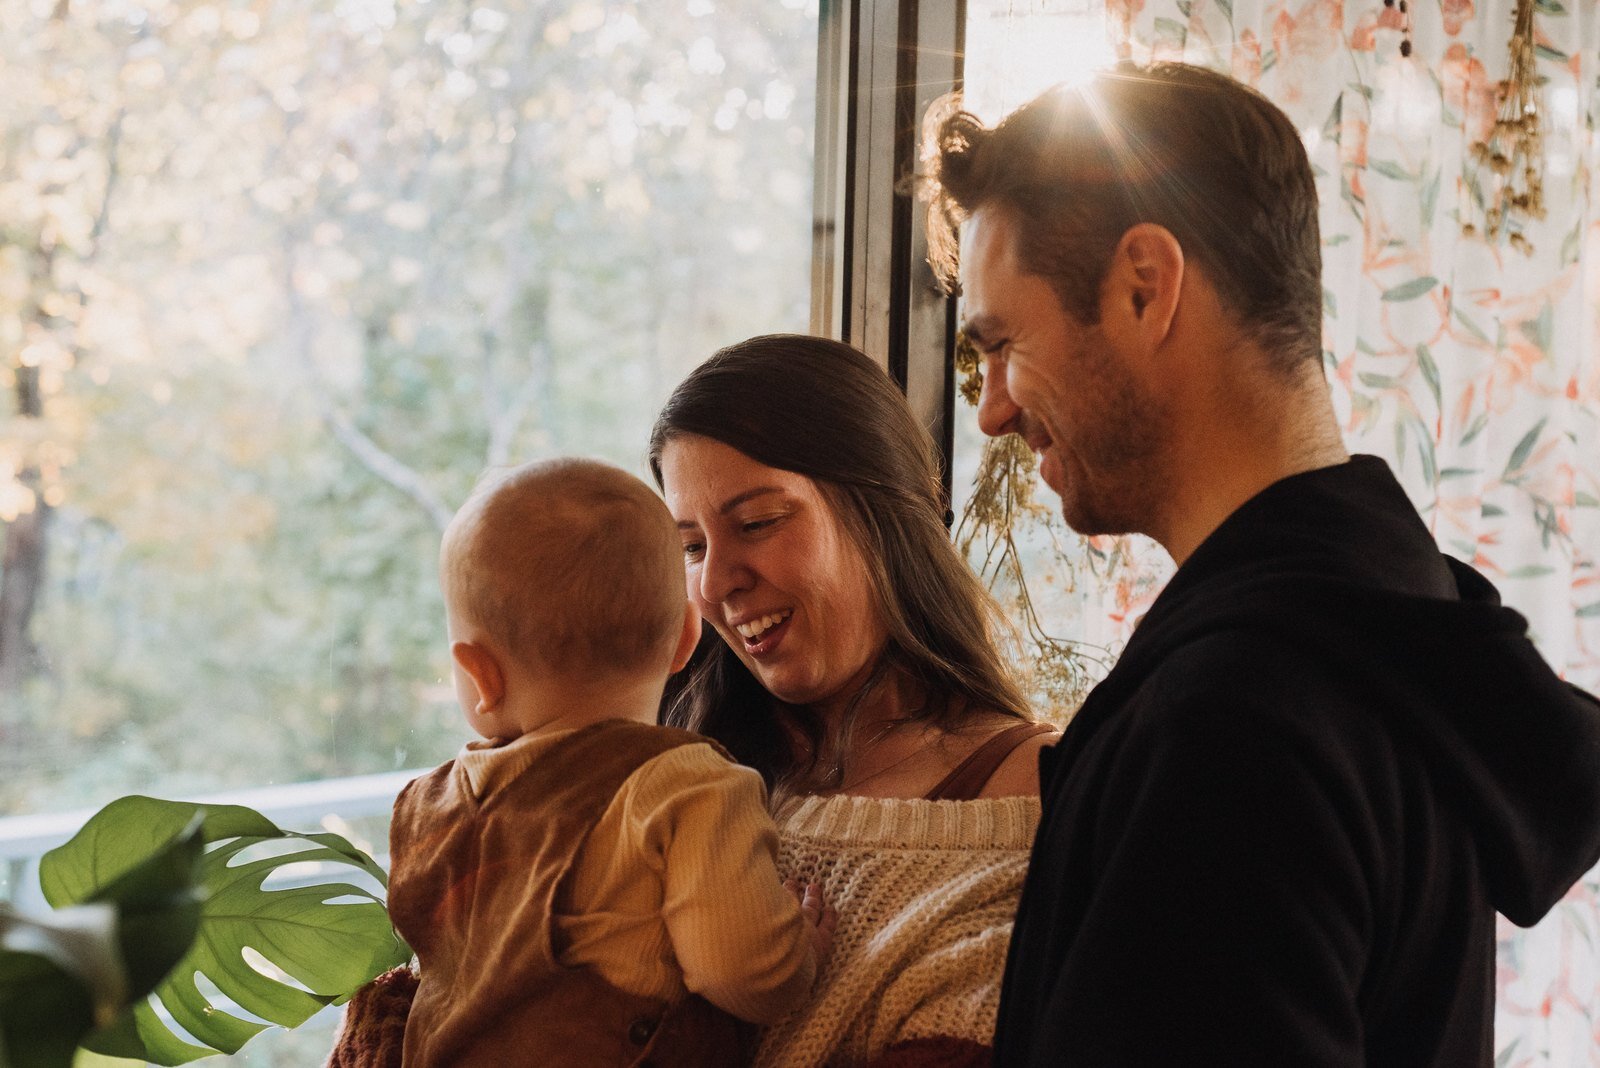
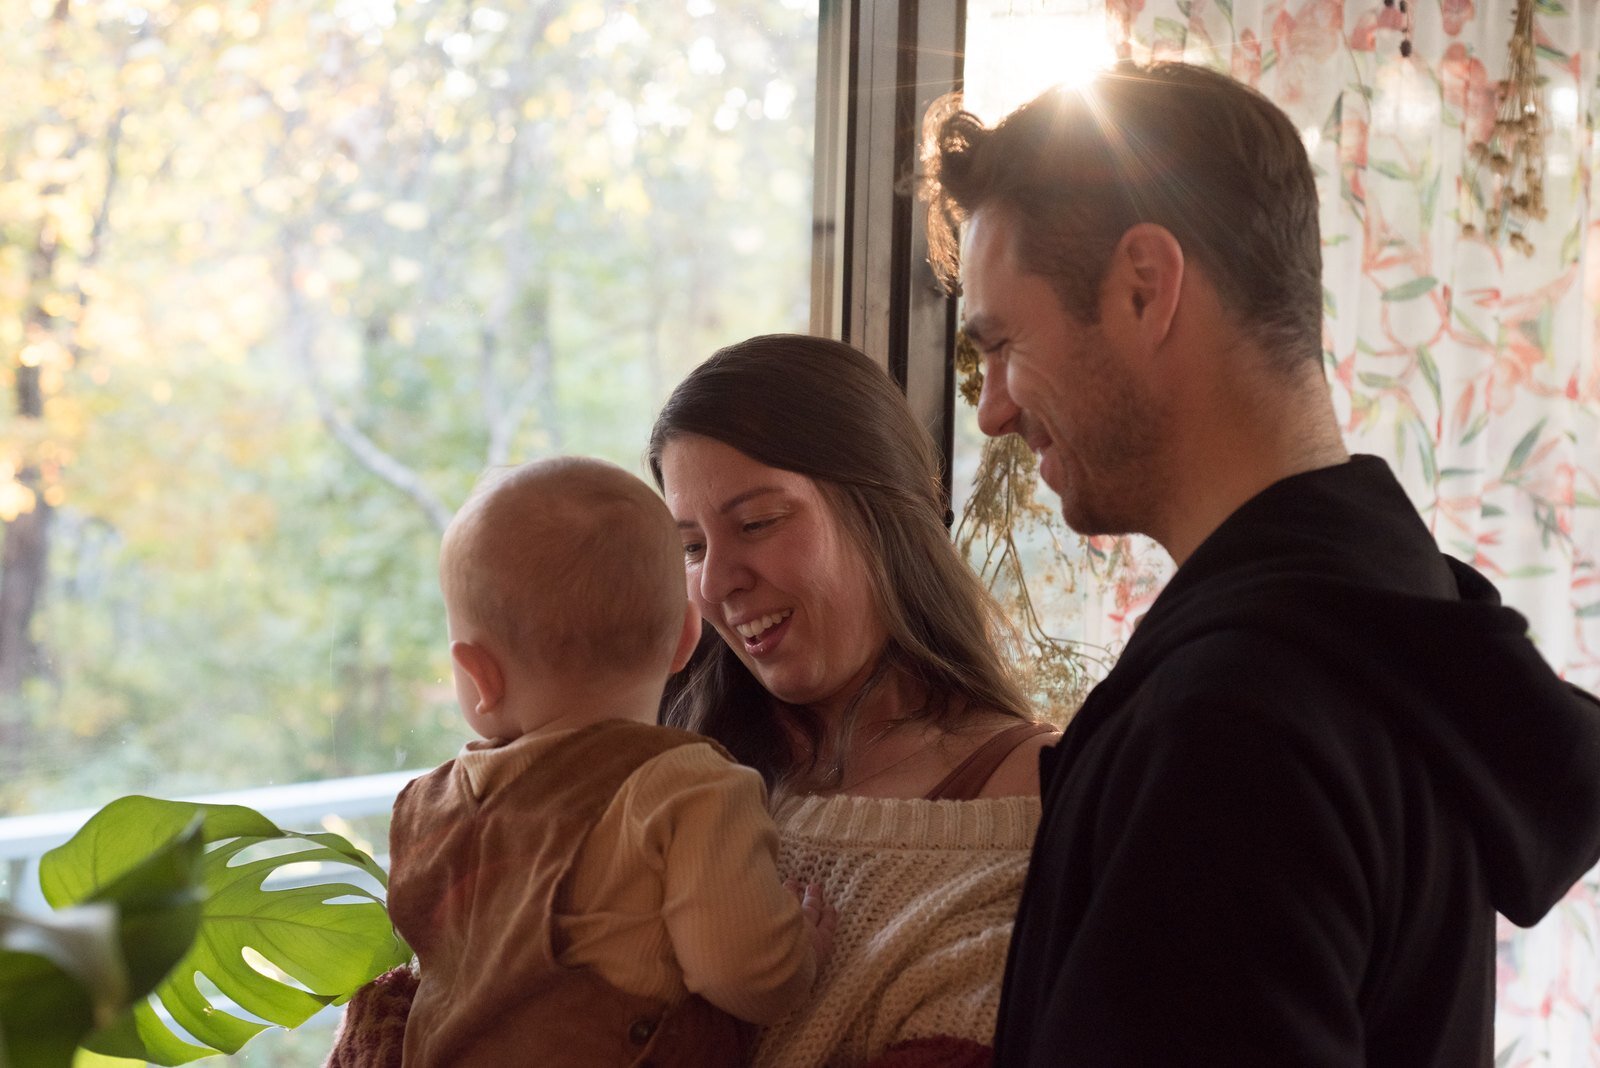
Before
After
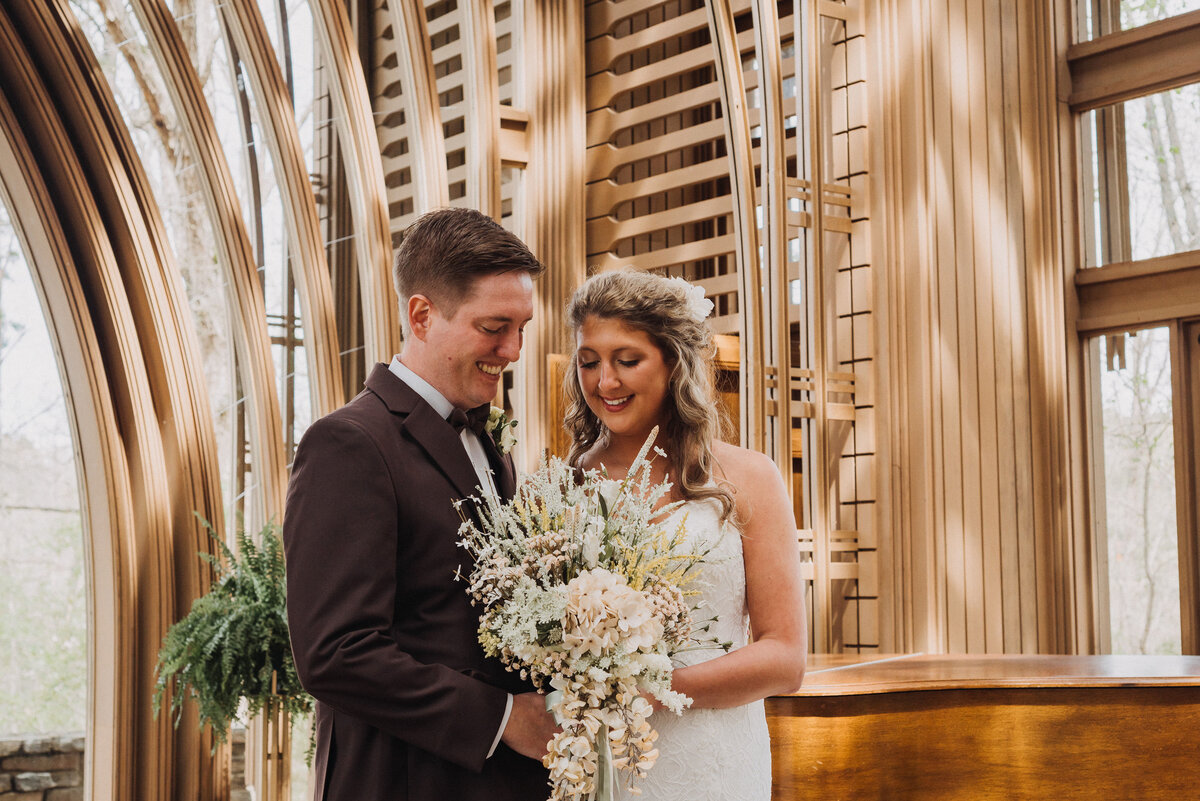
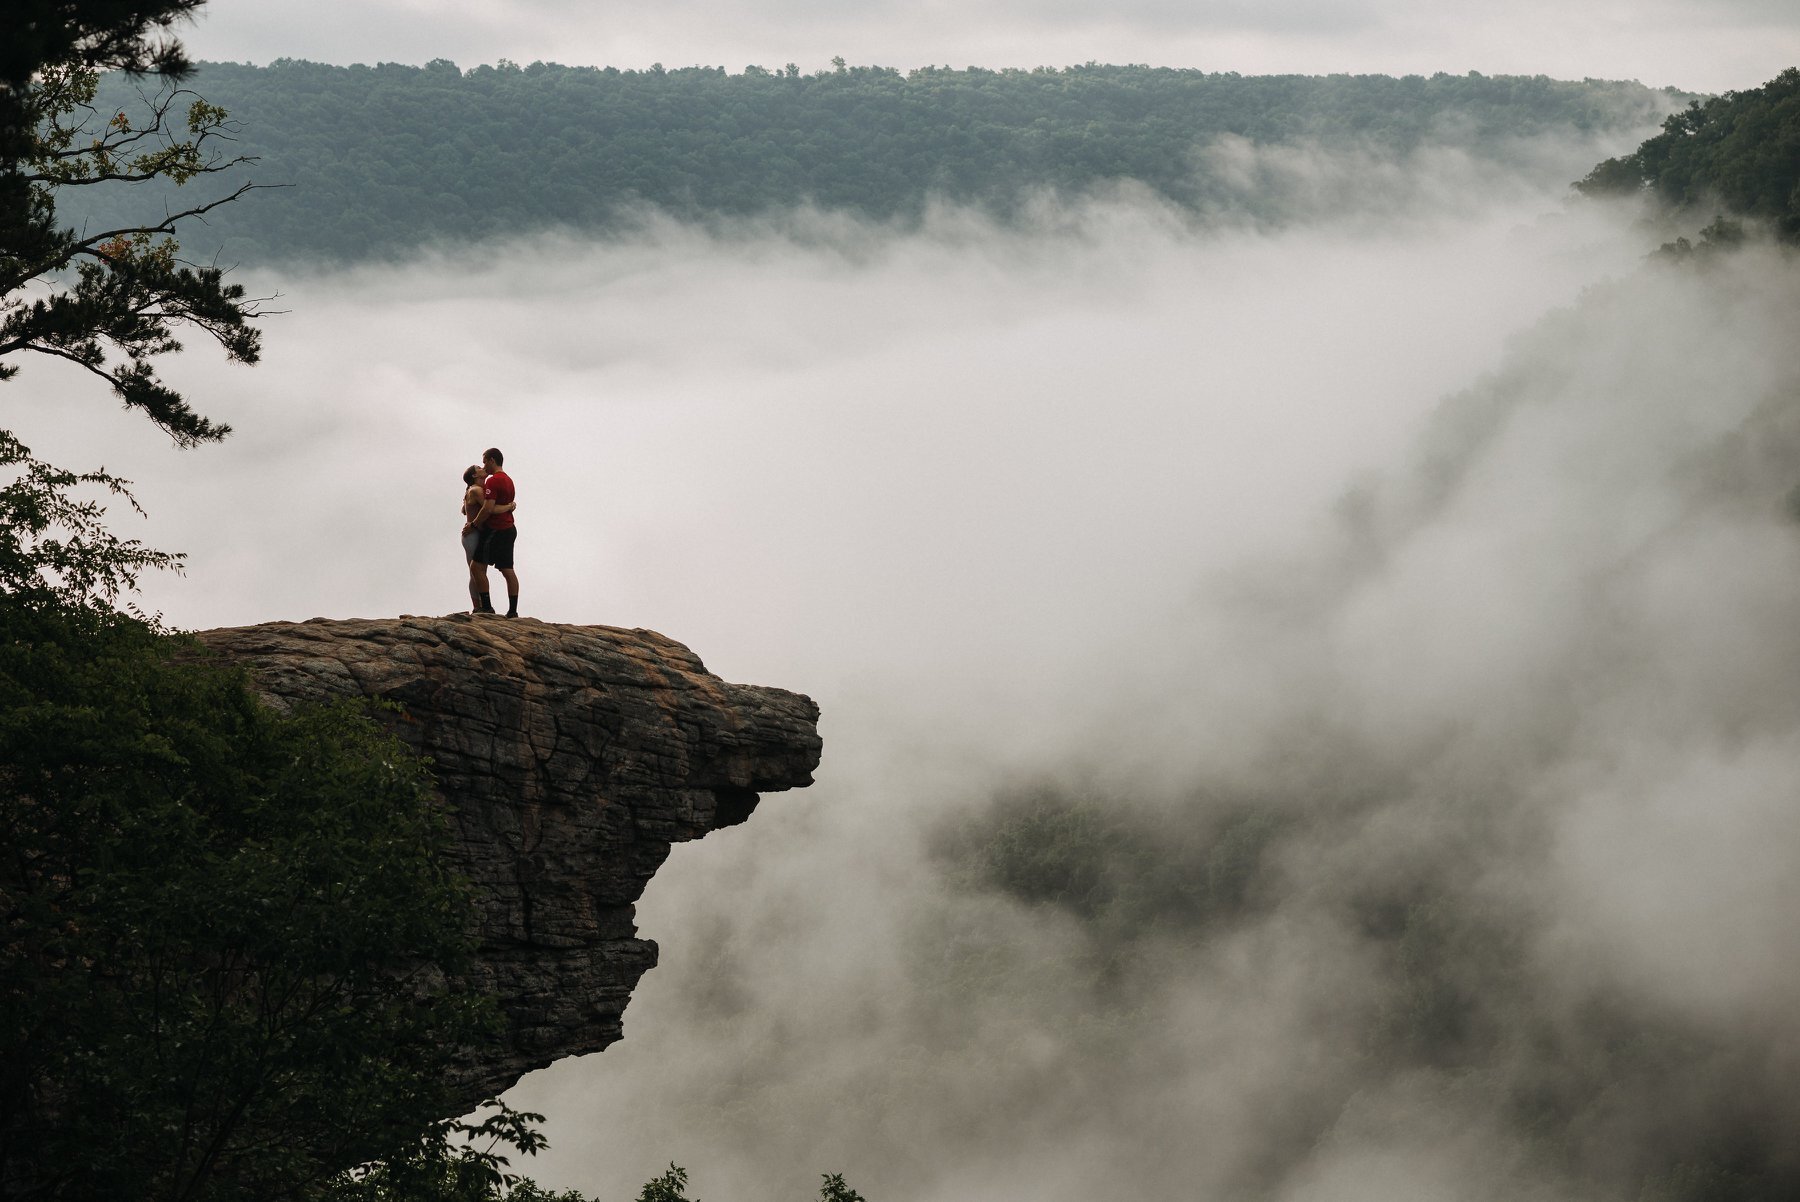
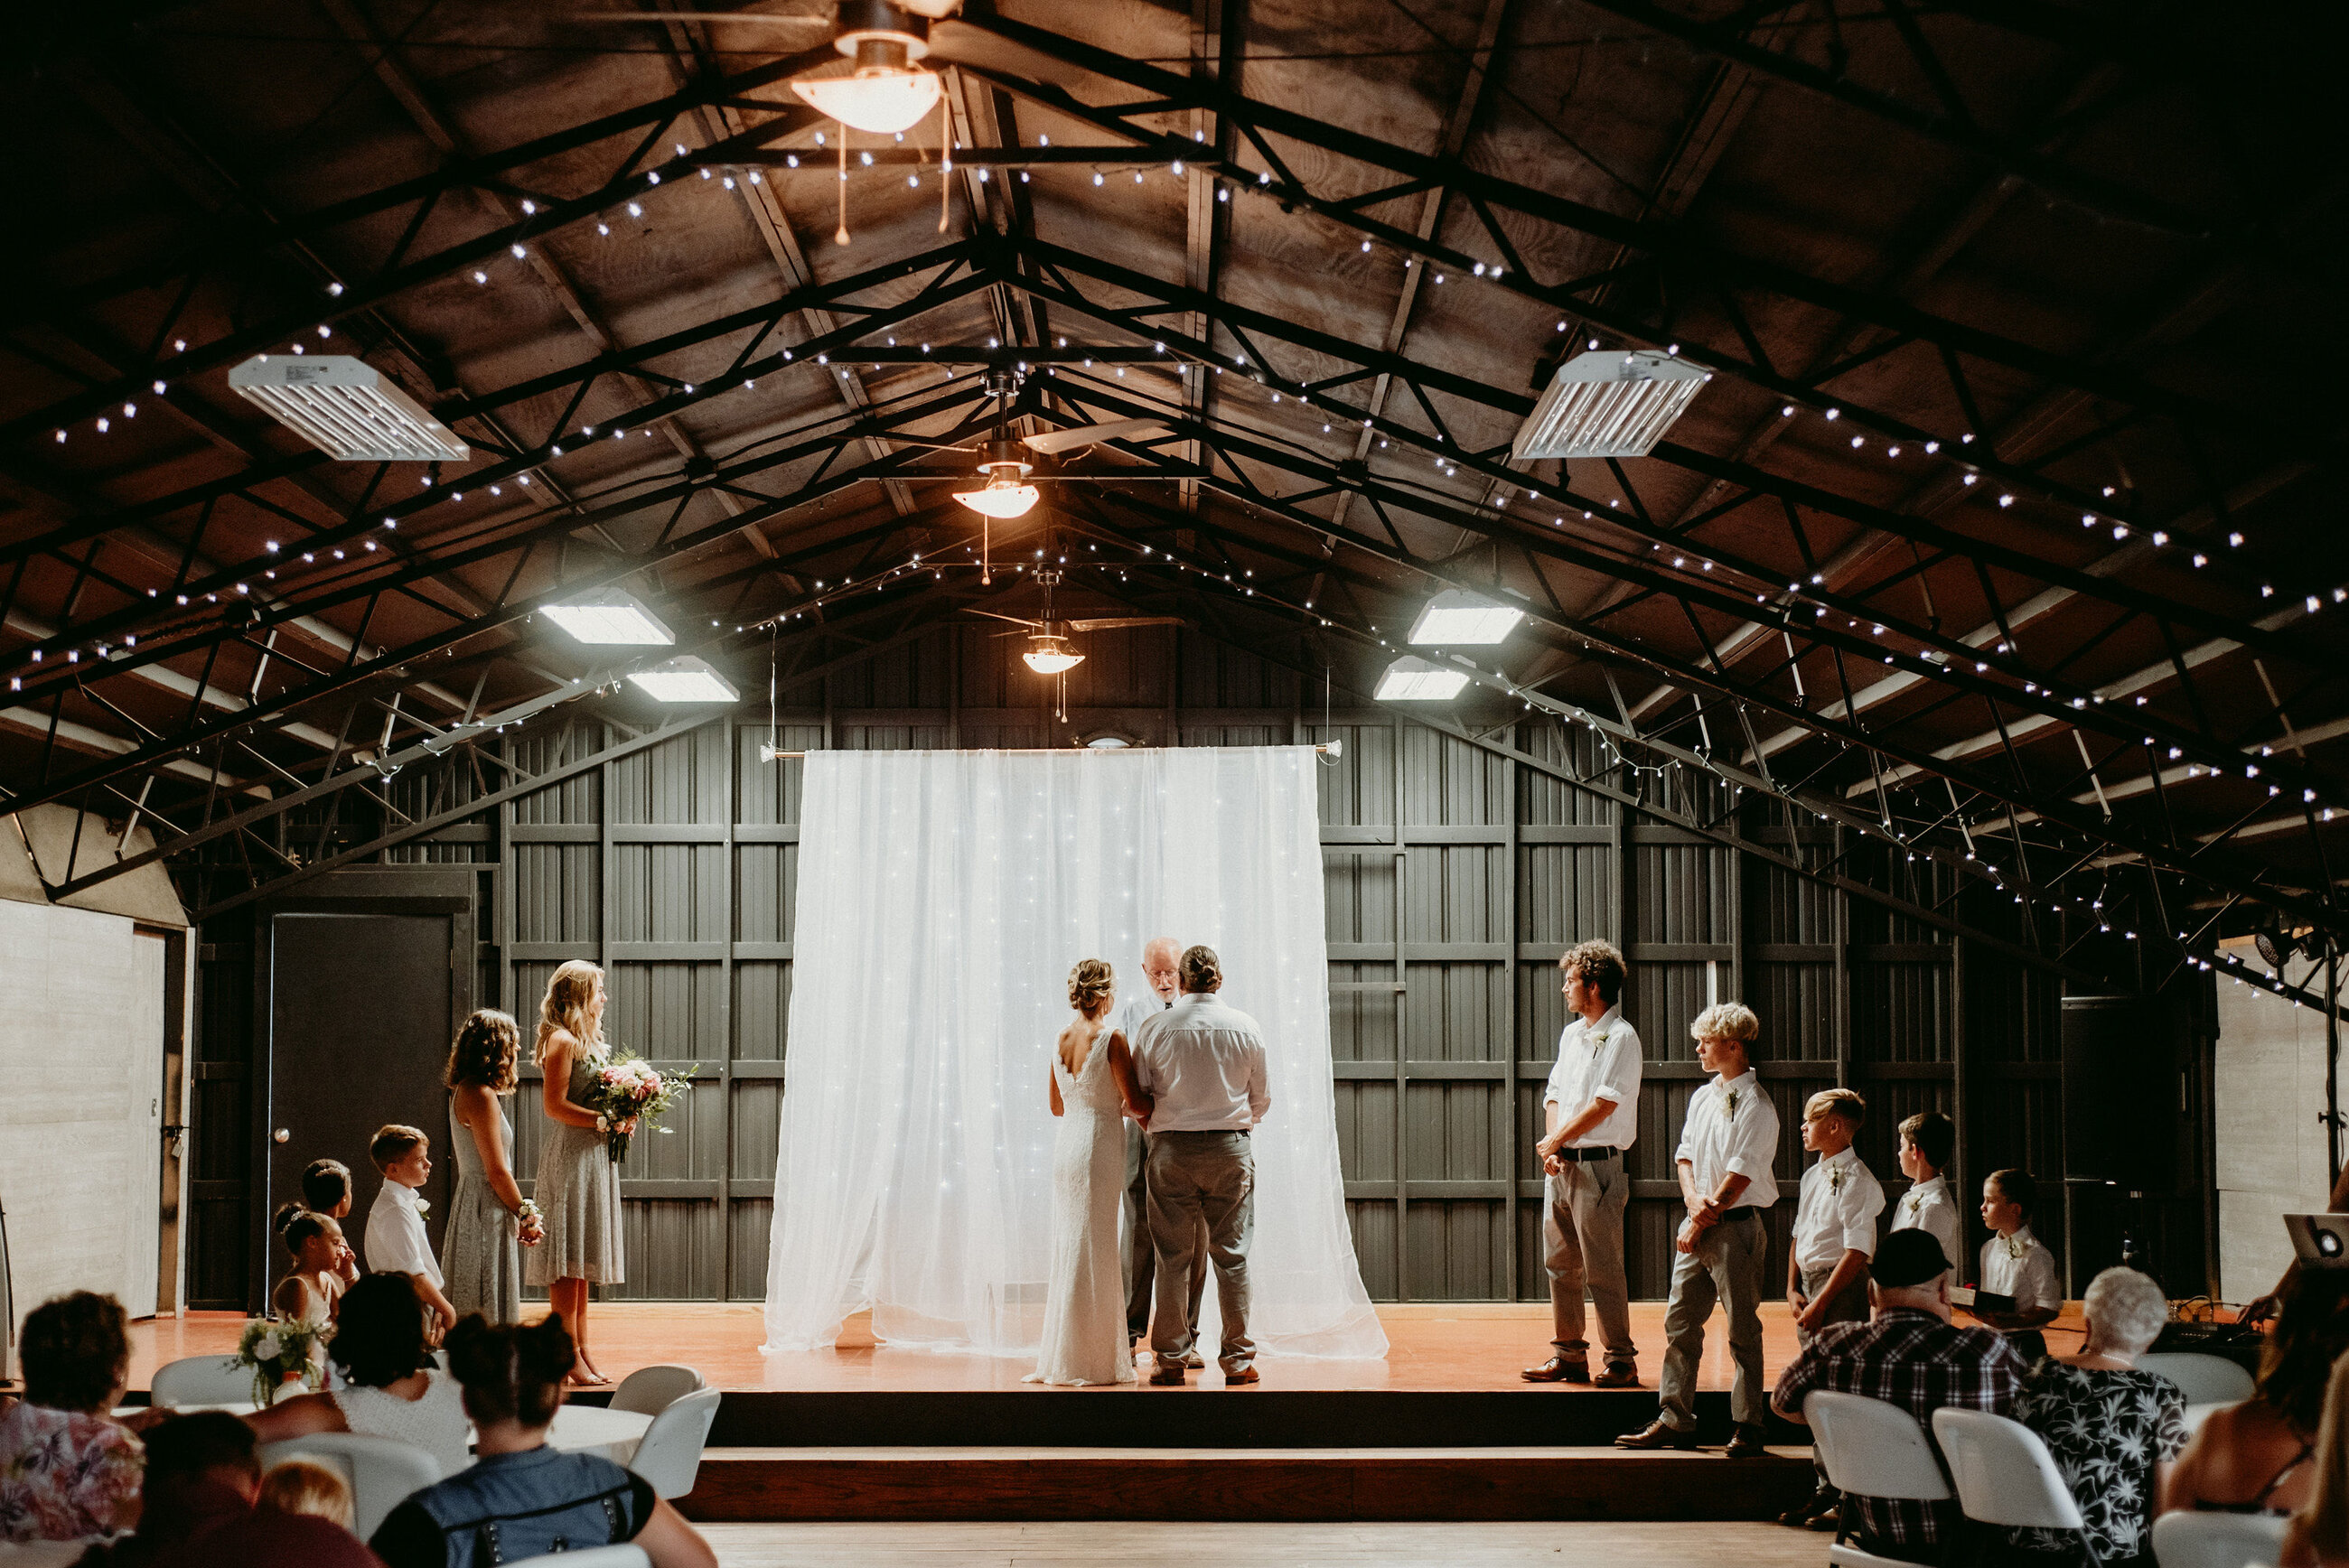
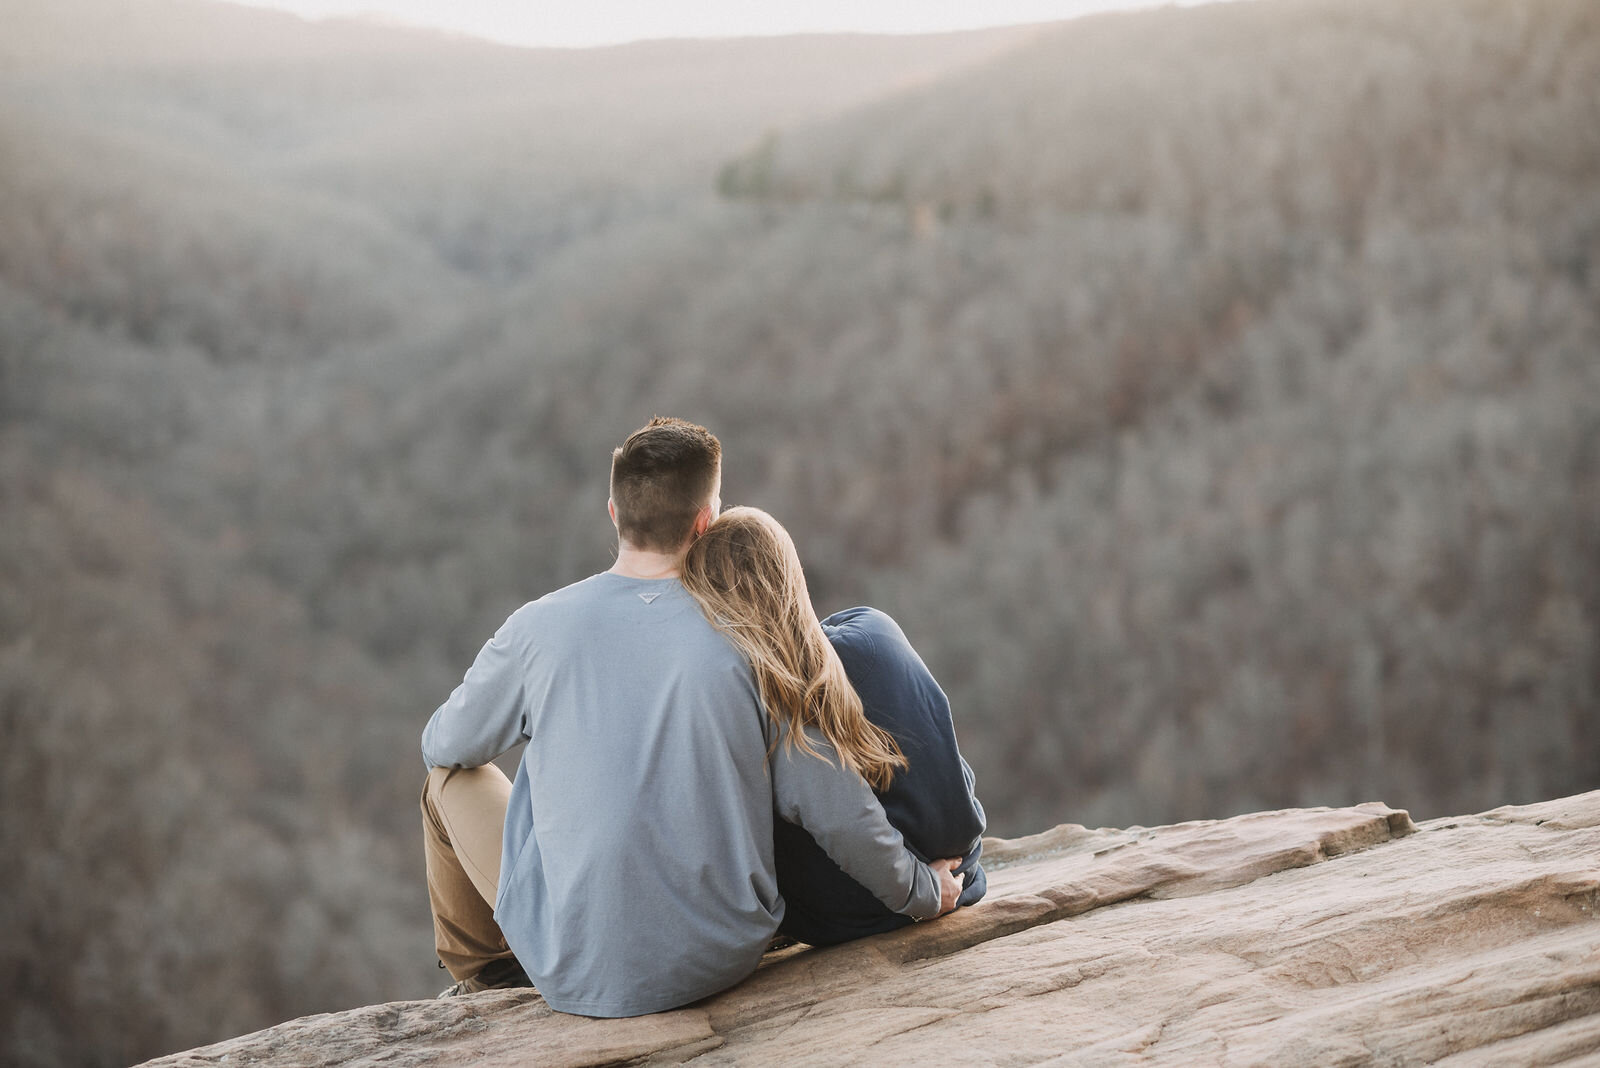
KIDD_01 - my baseline color look
 Before
After
Before
After
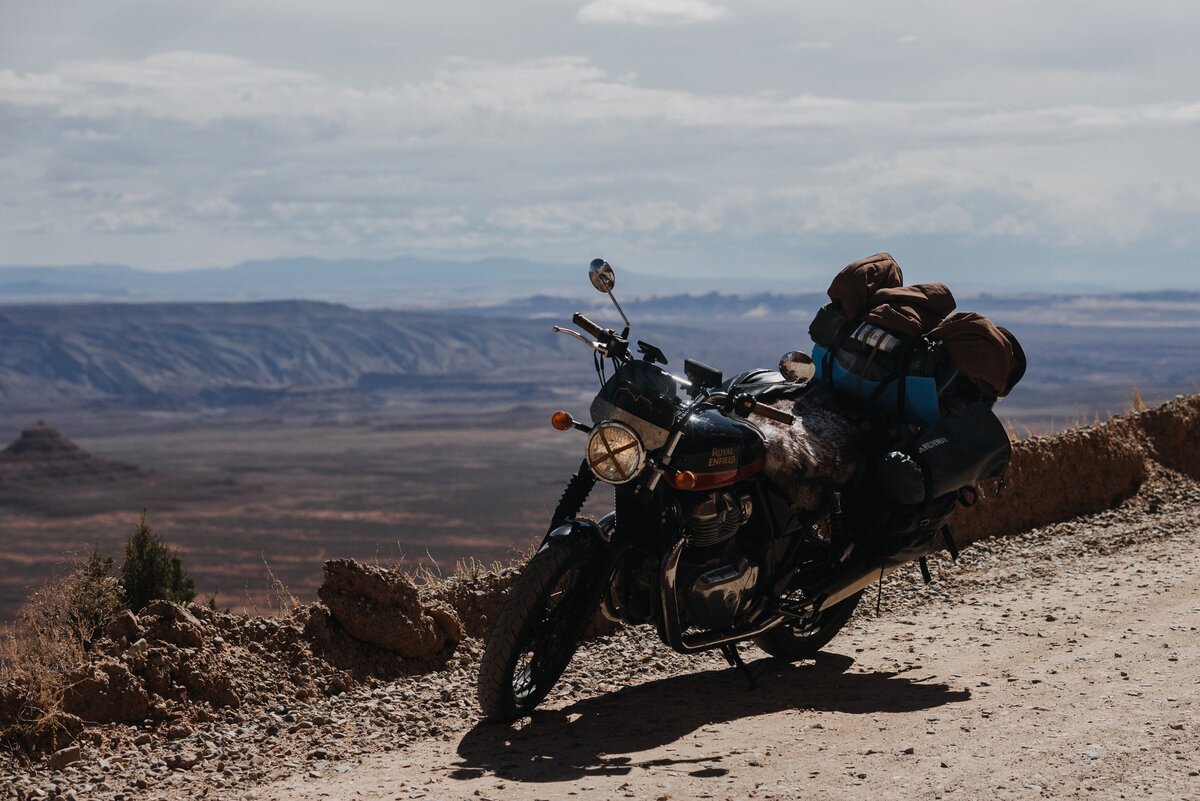
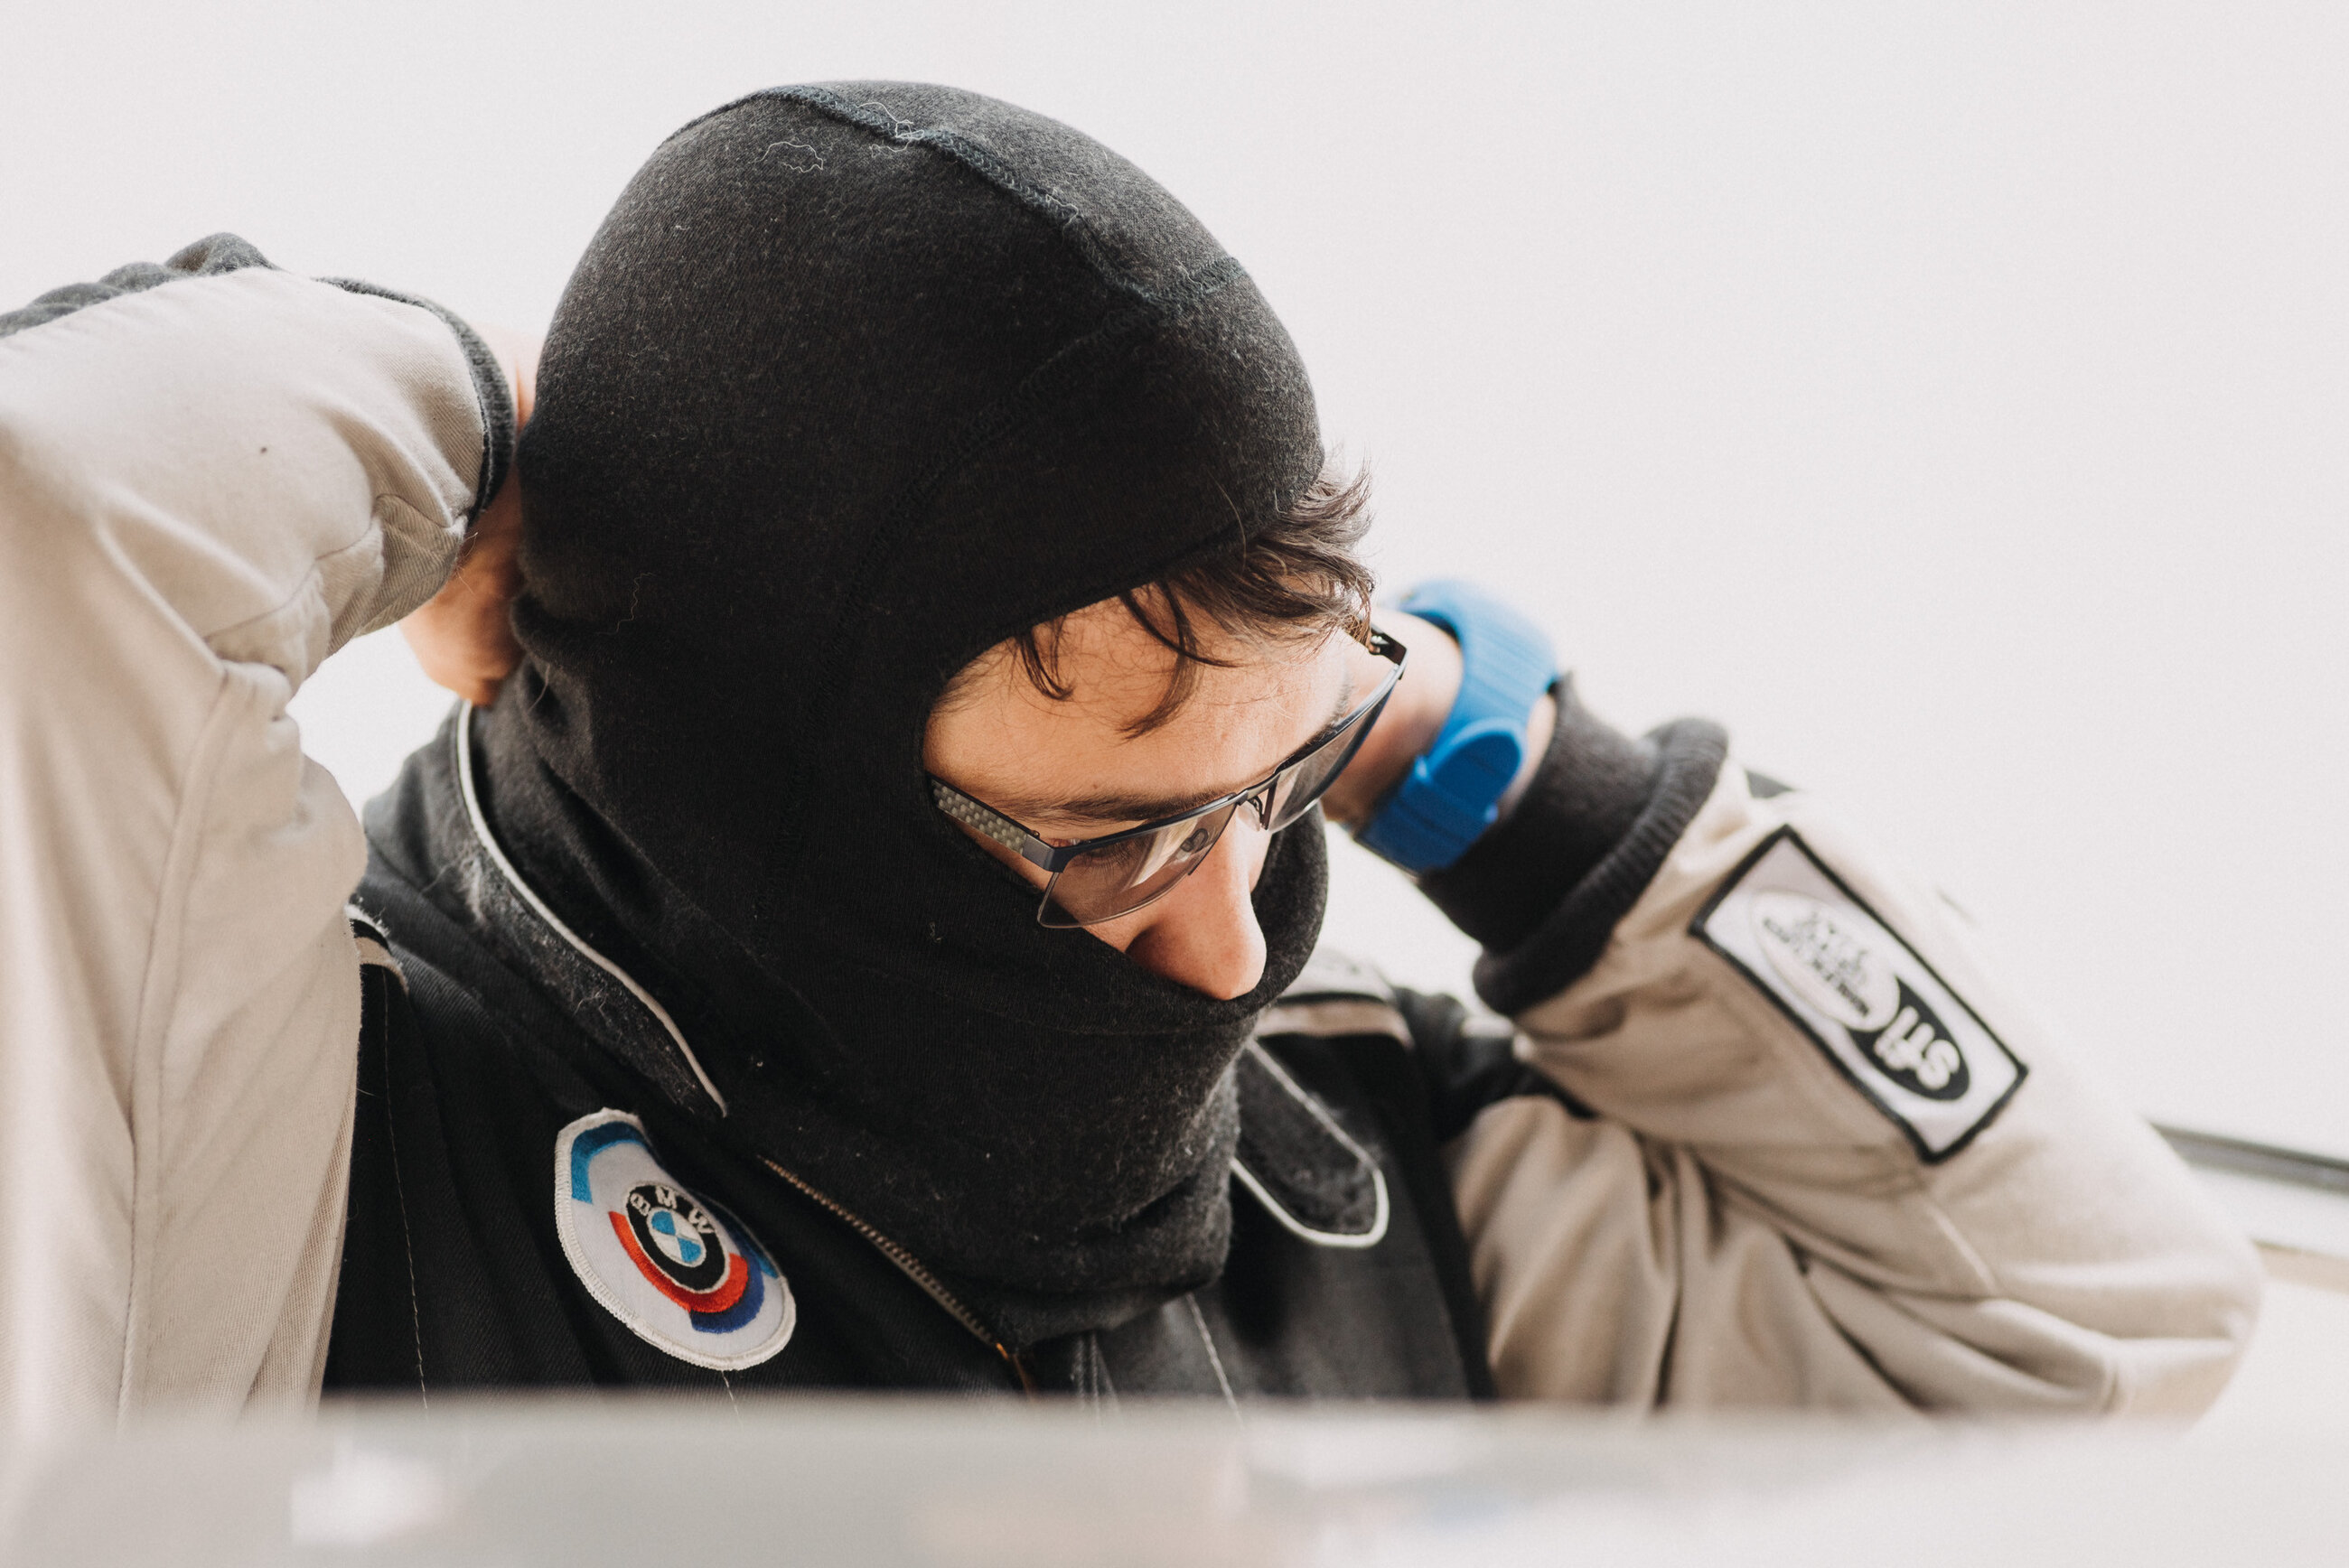
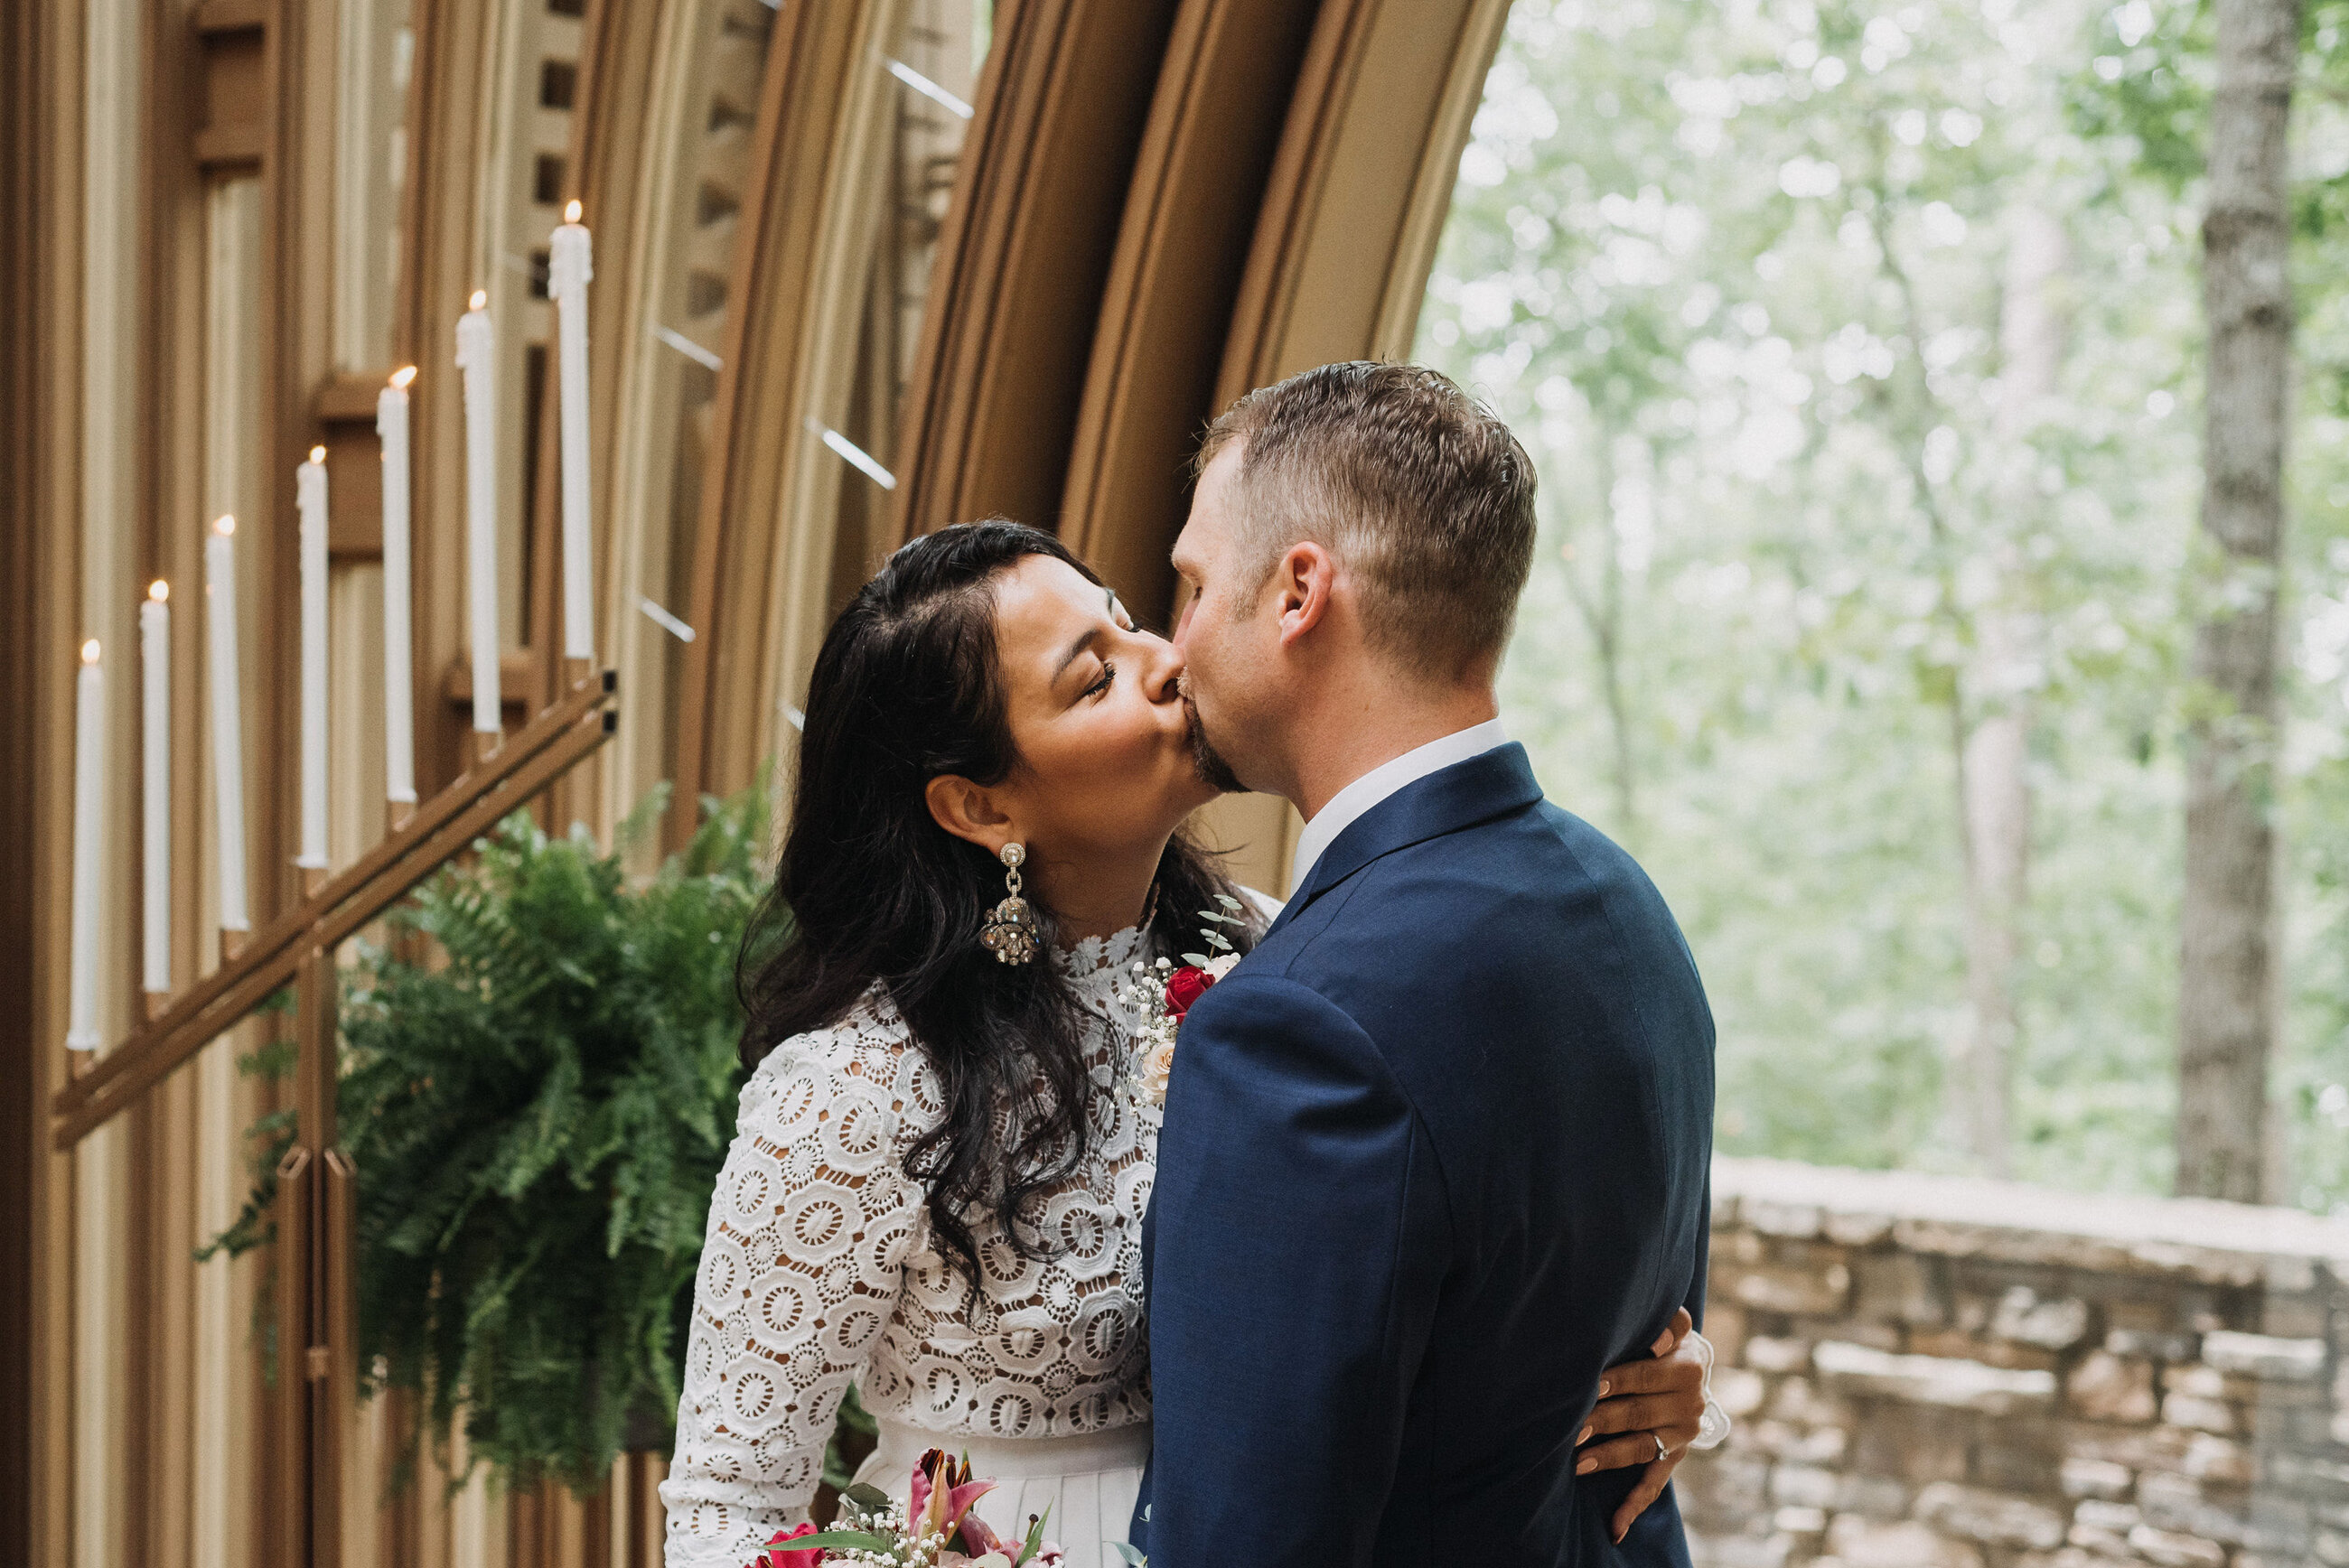
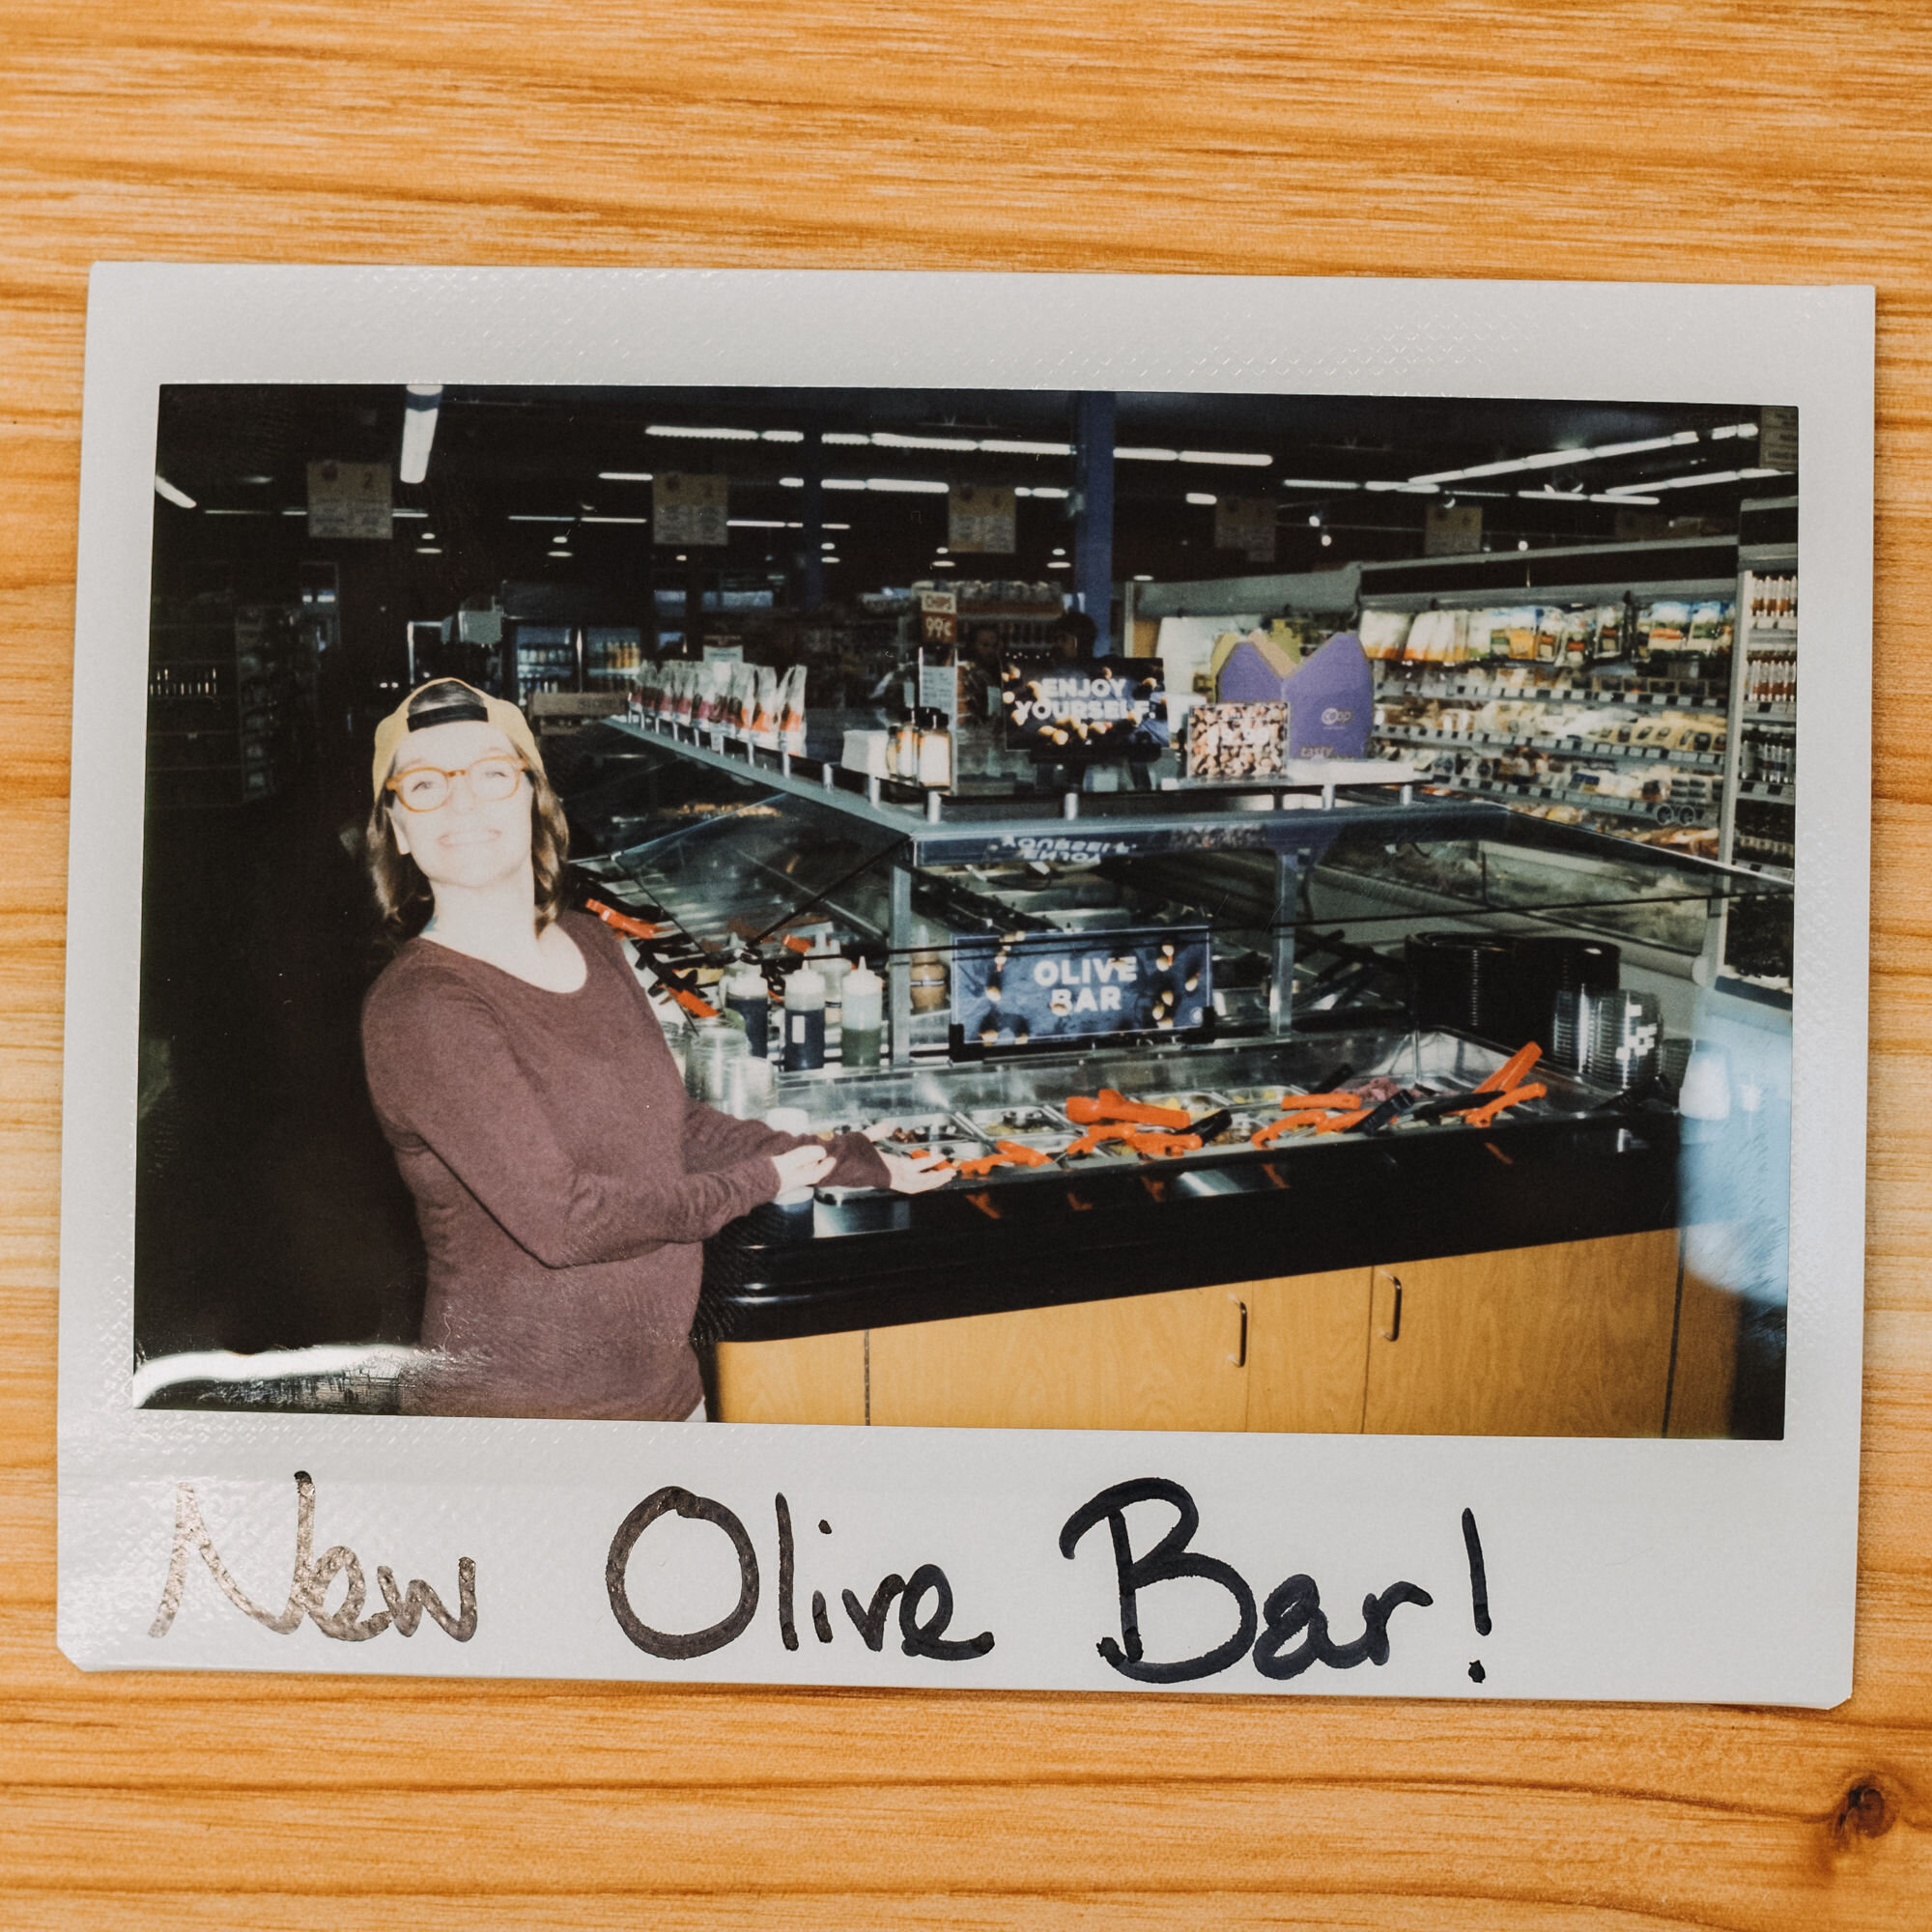
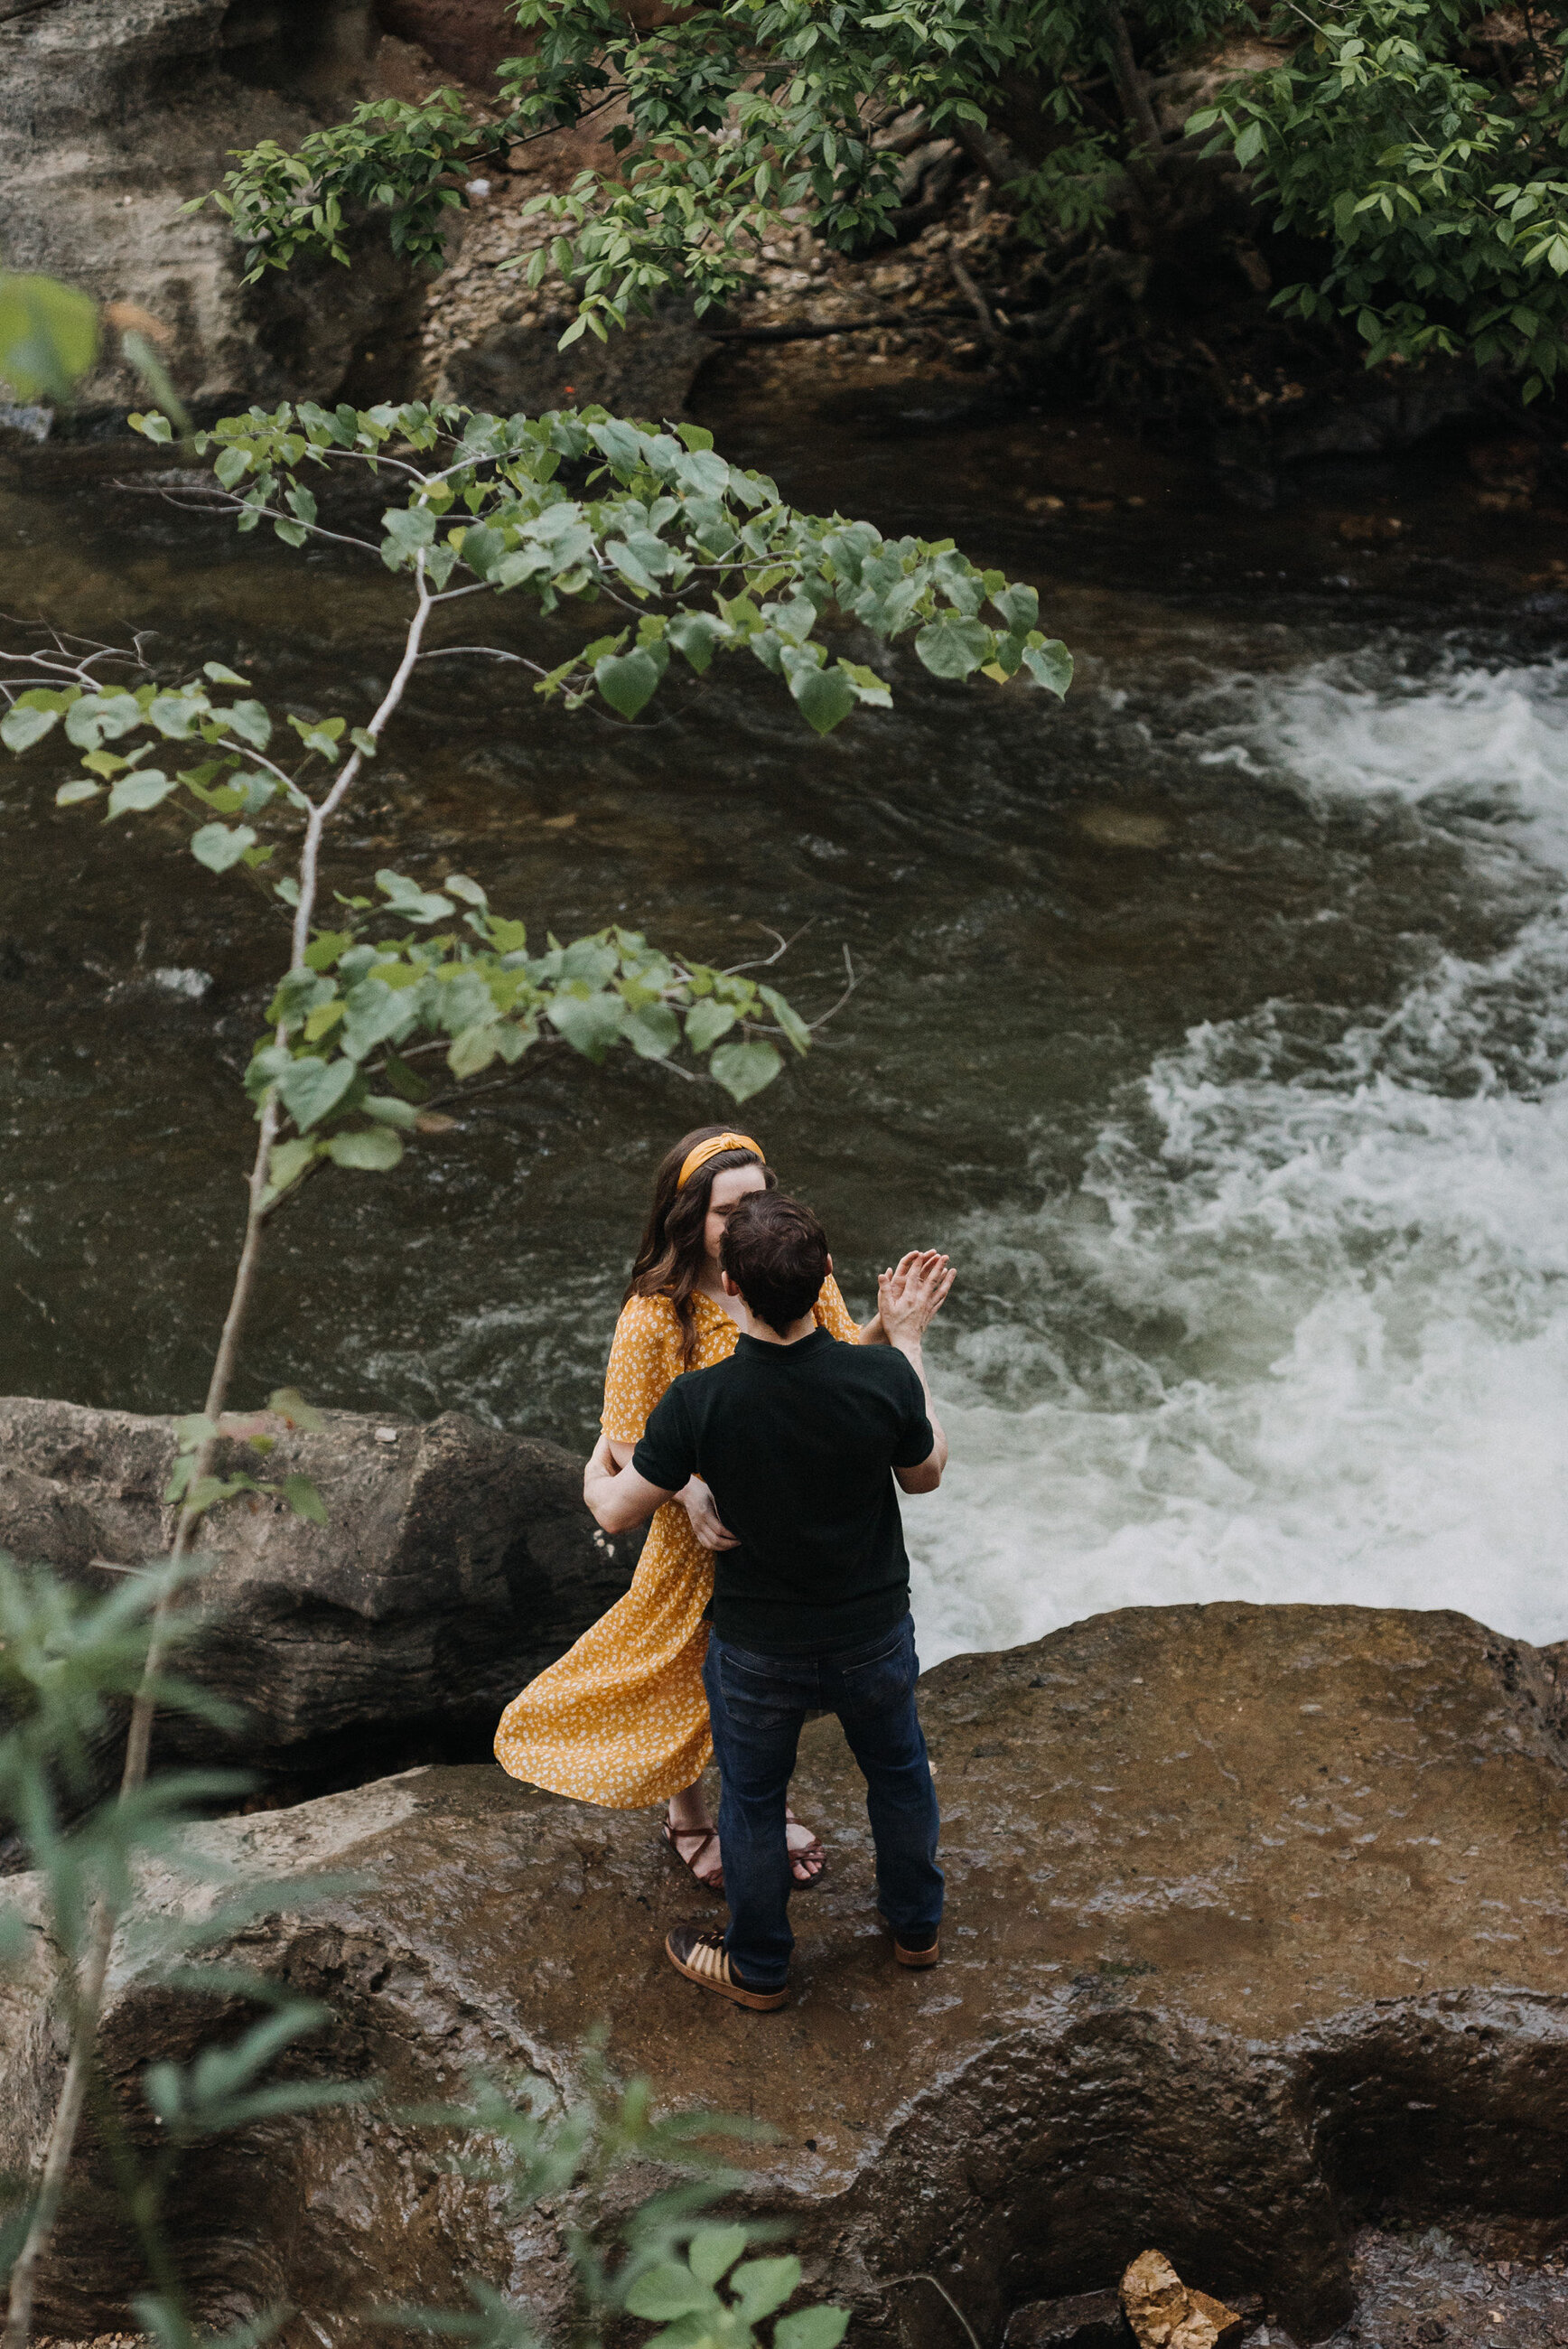
KIDD_02 - optimized for nighttime shooting with mixed light sources
 Before
After
Before
After
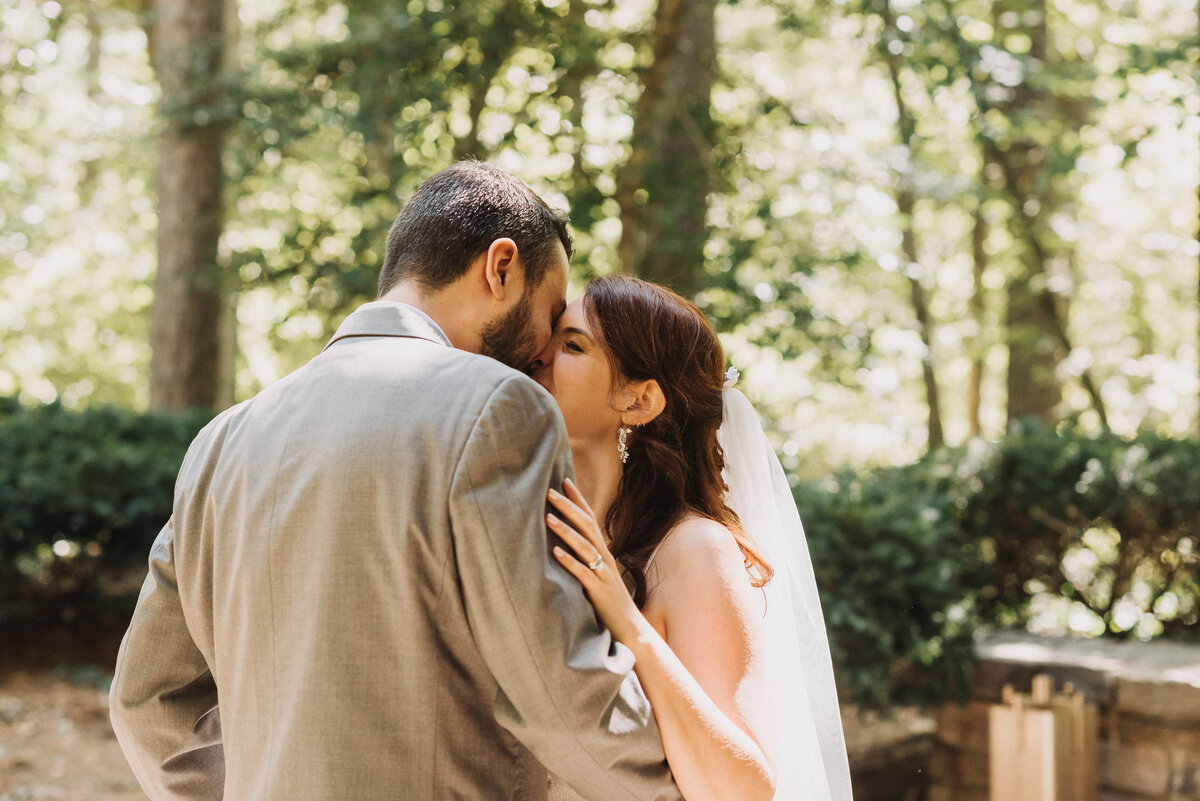
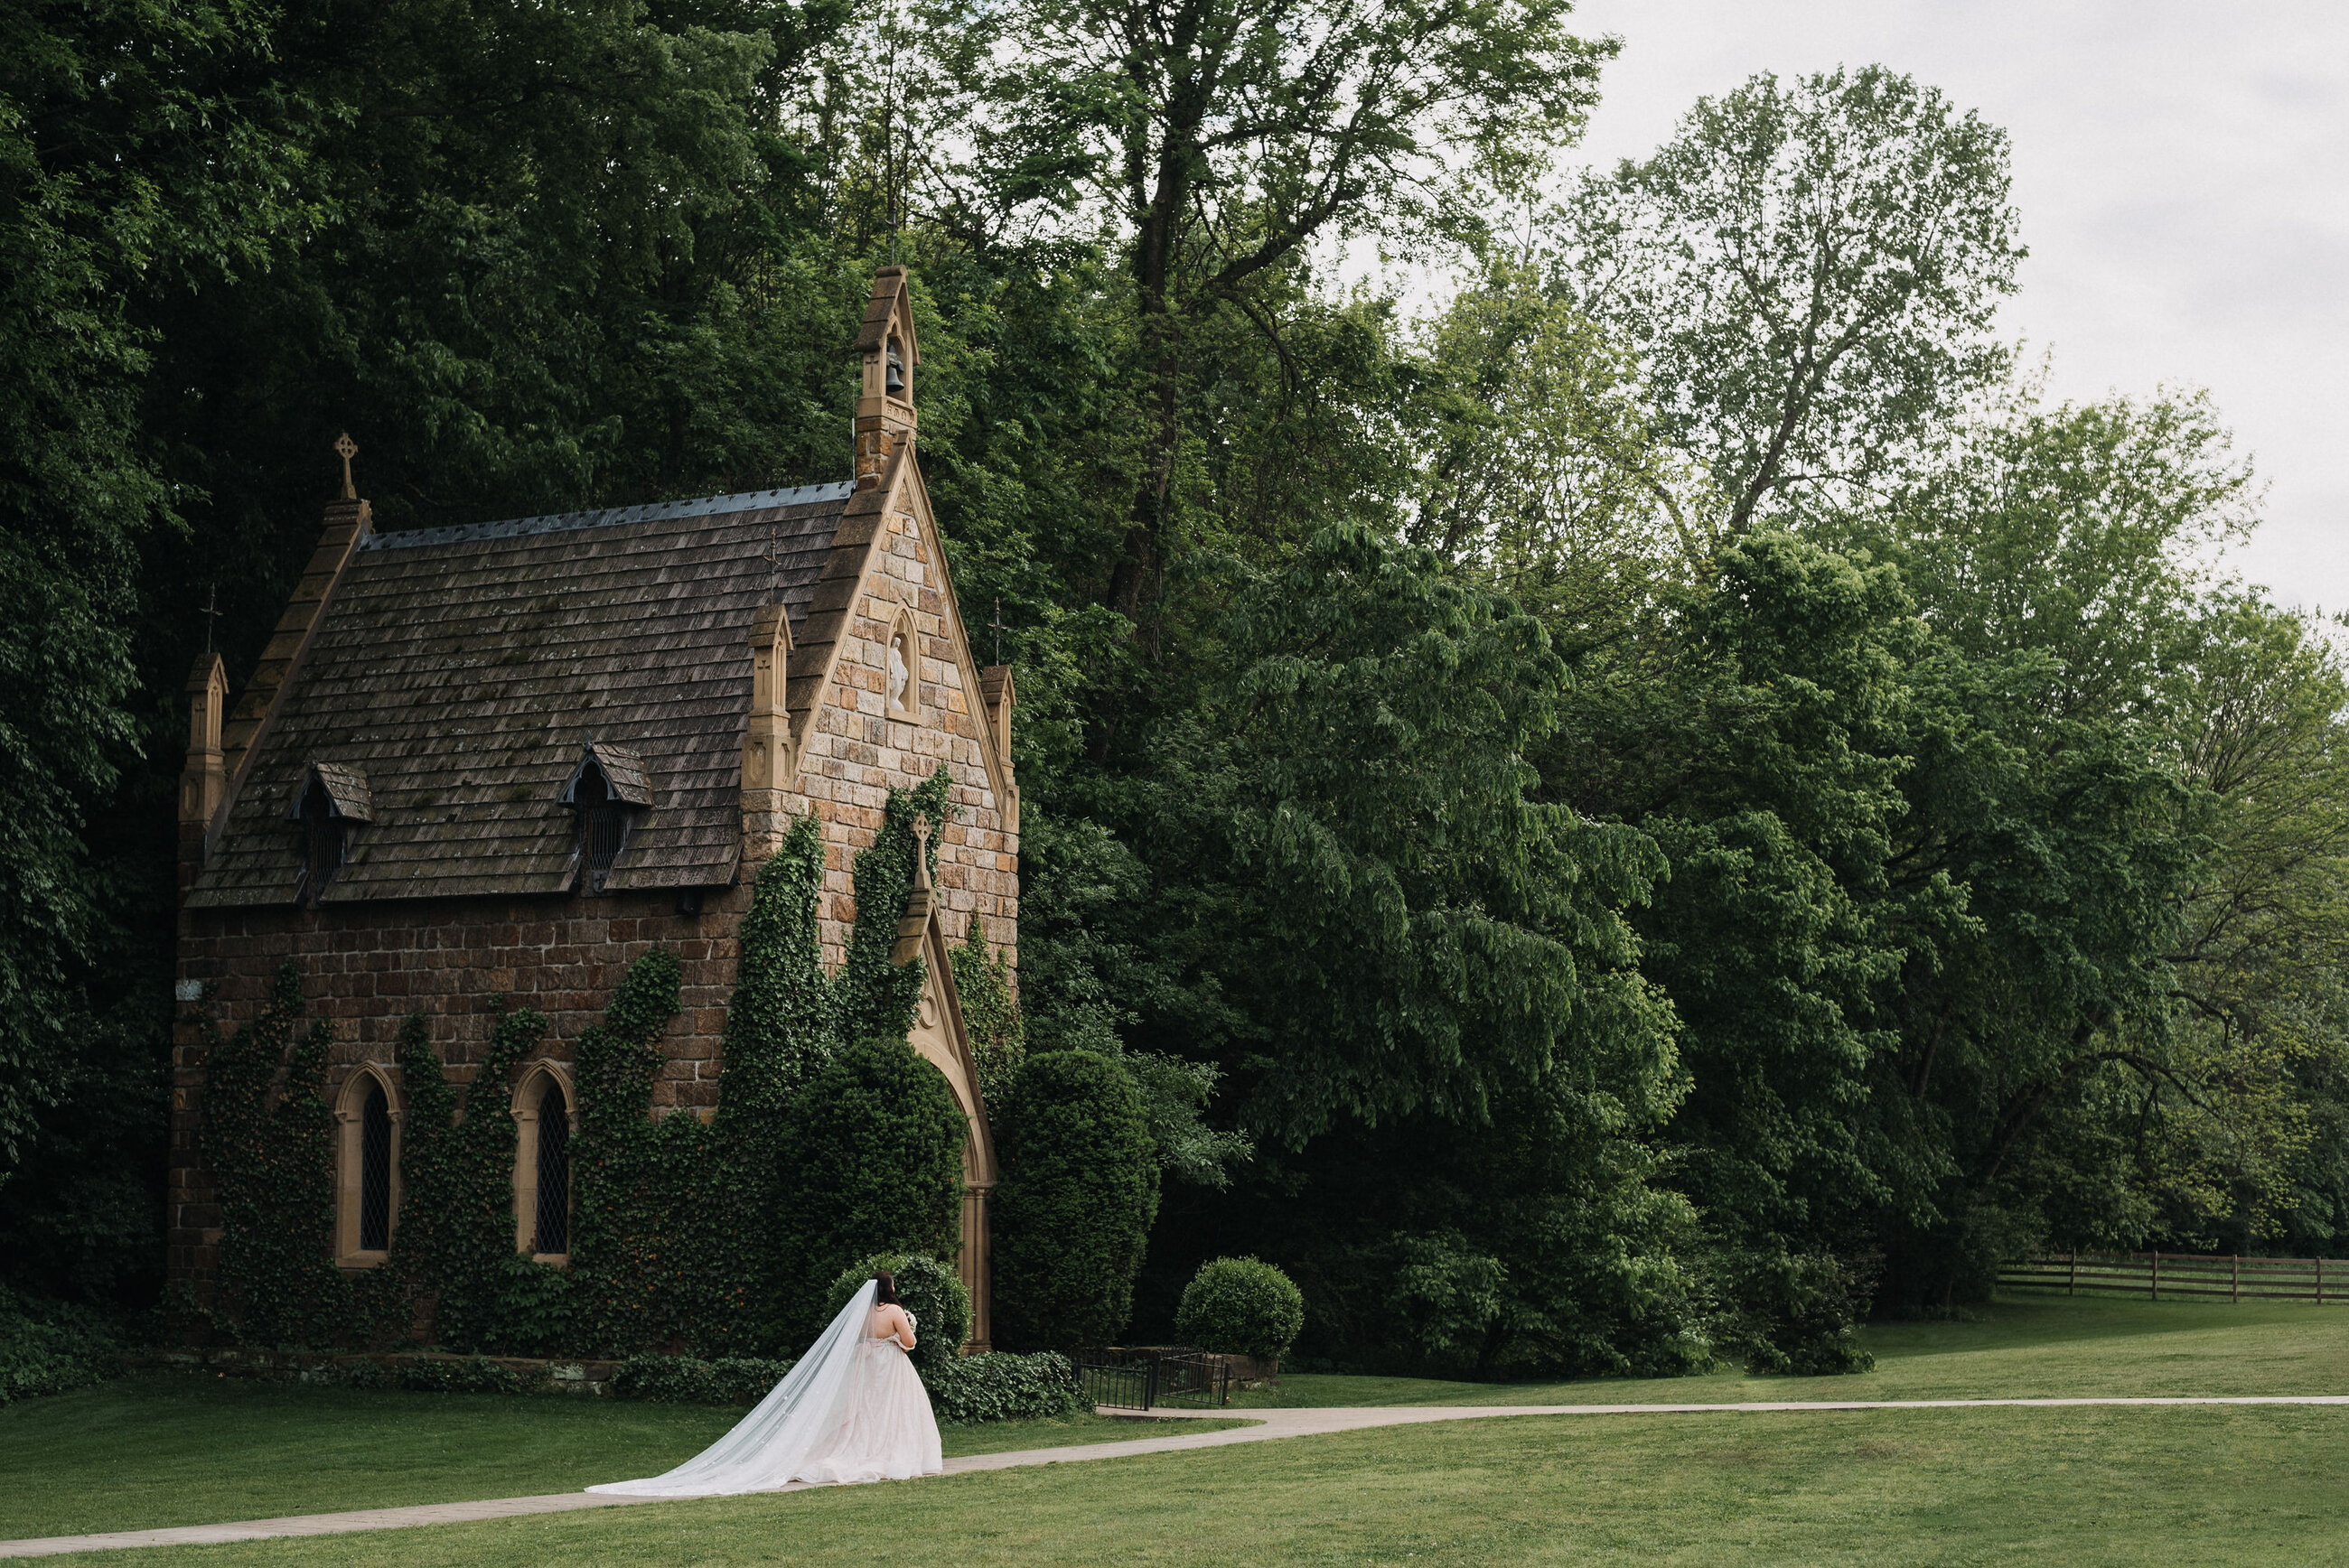
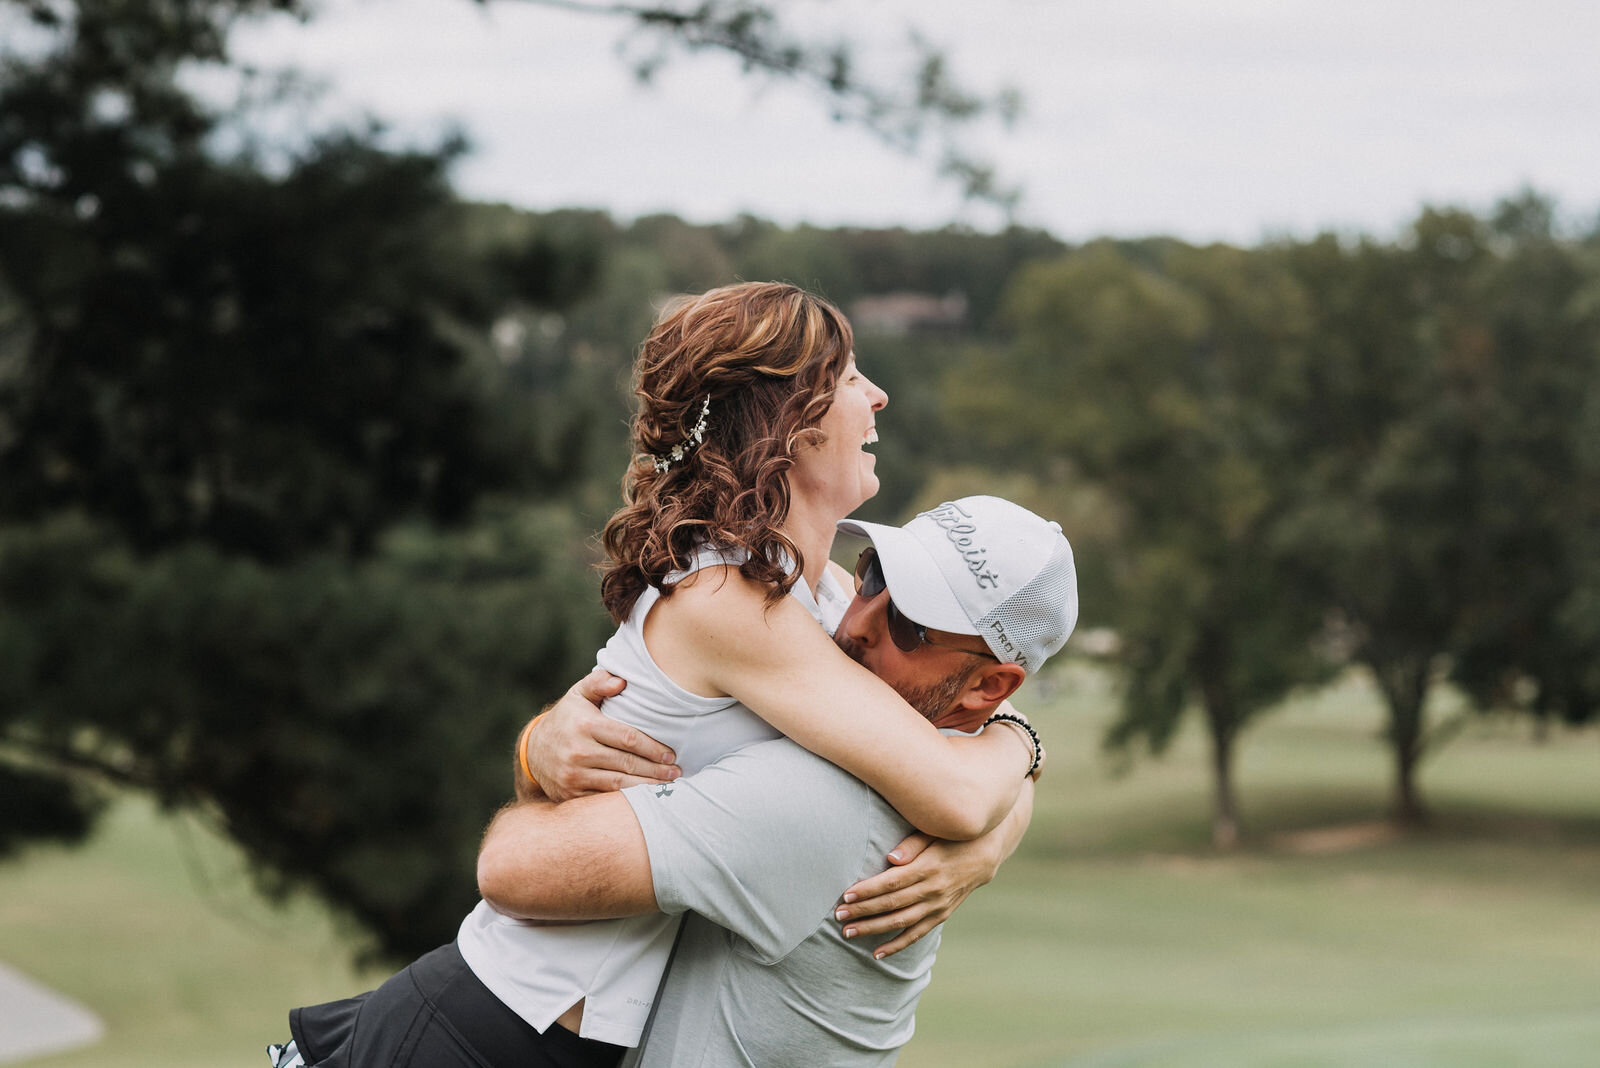
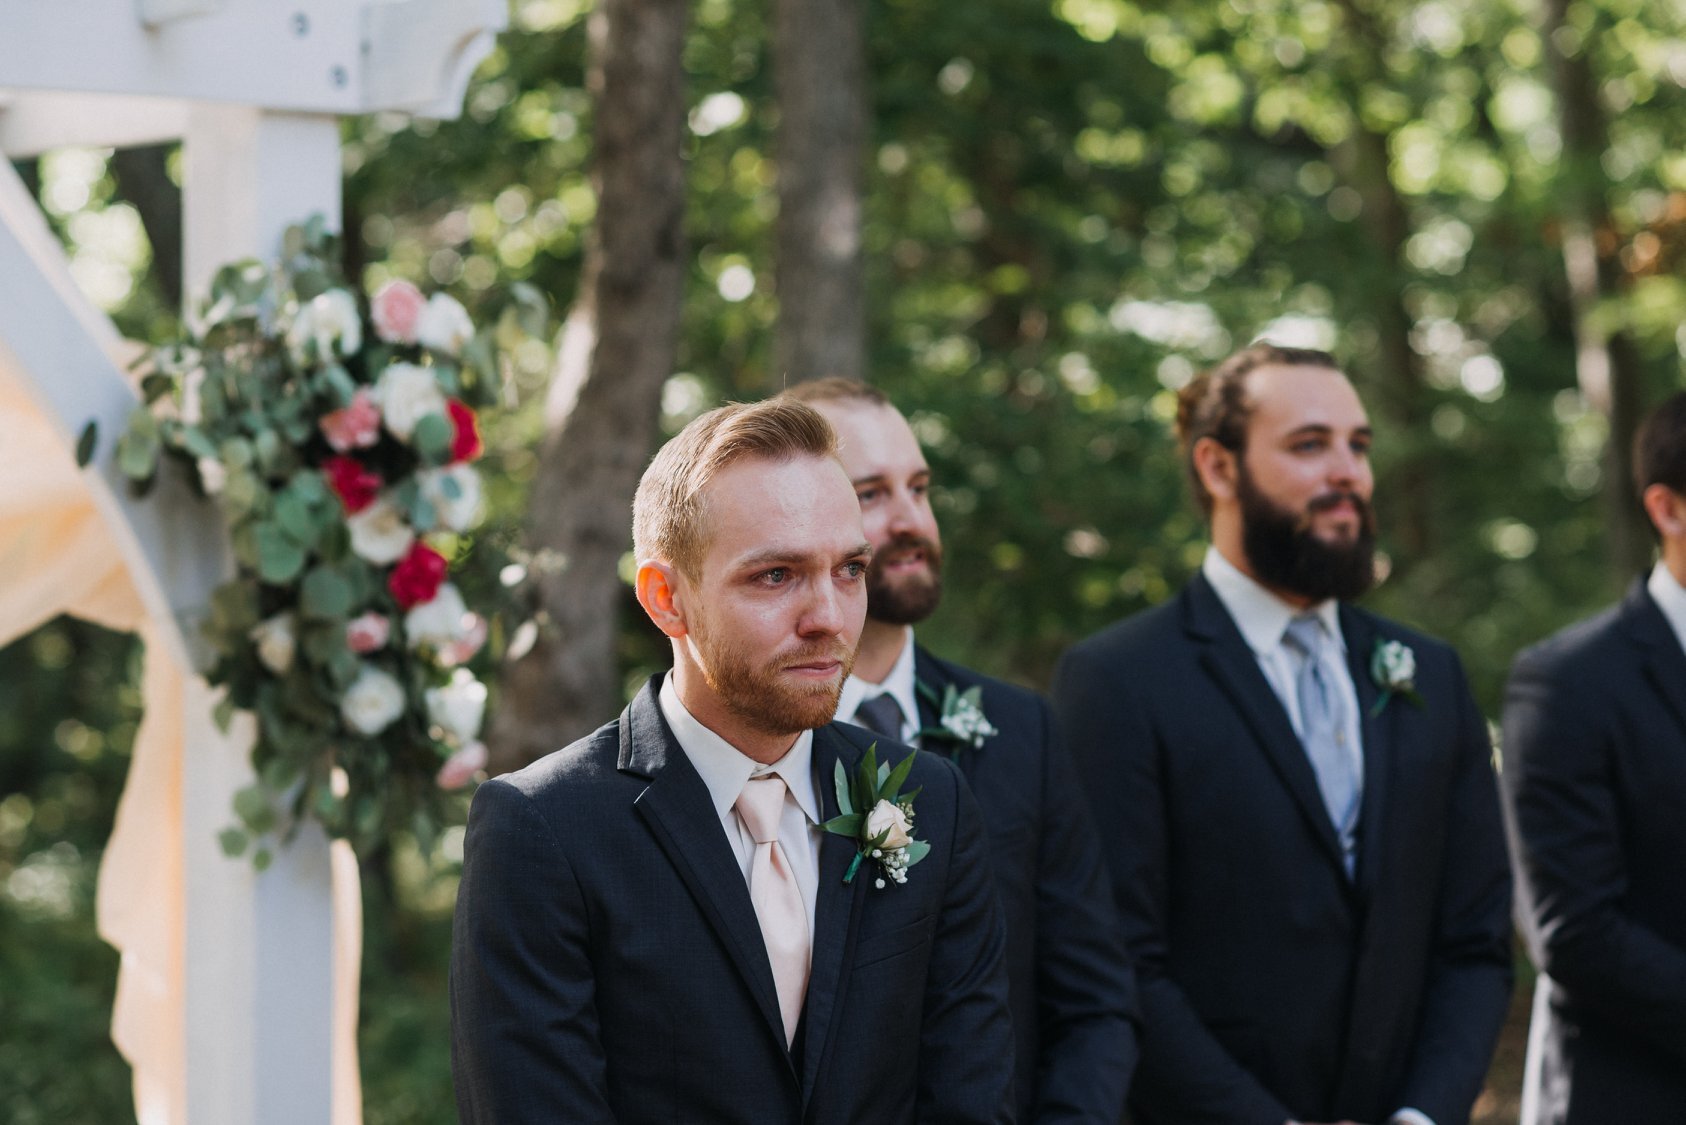
KIDD_03 - optimized for more accurate orange/red tones

 Before
After
Before
After
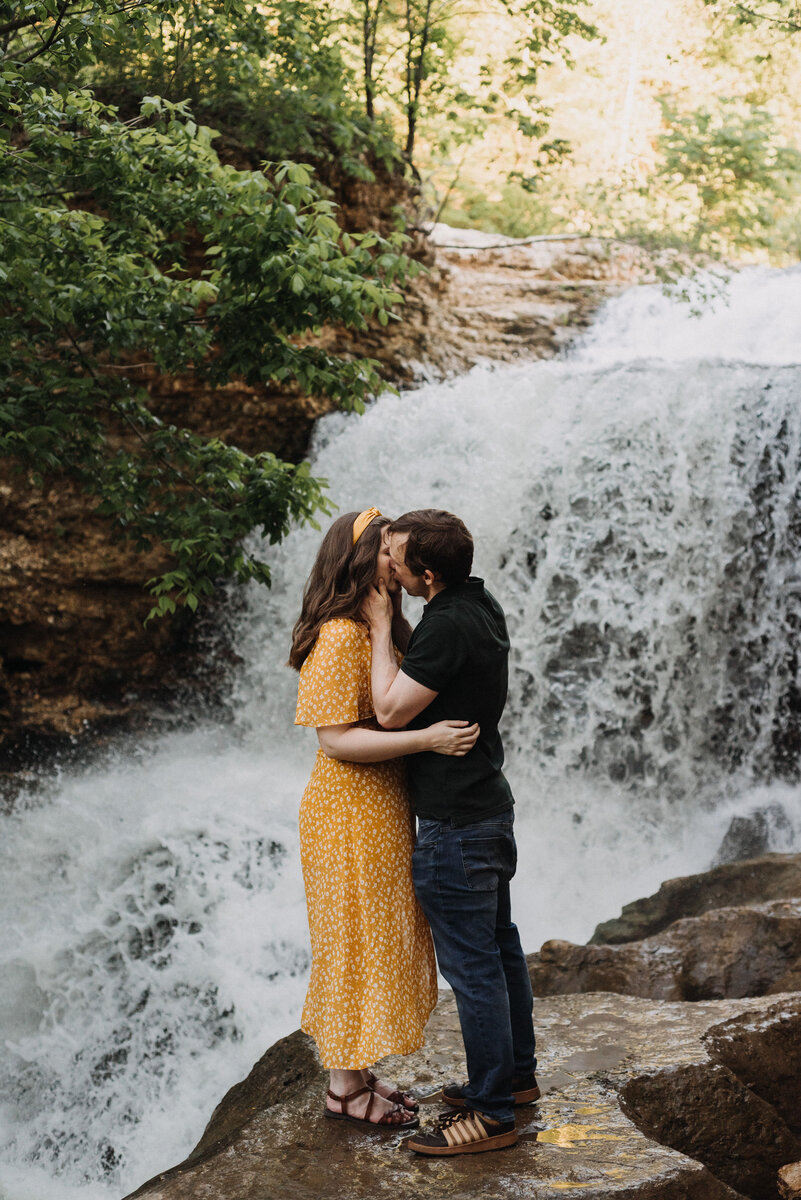
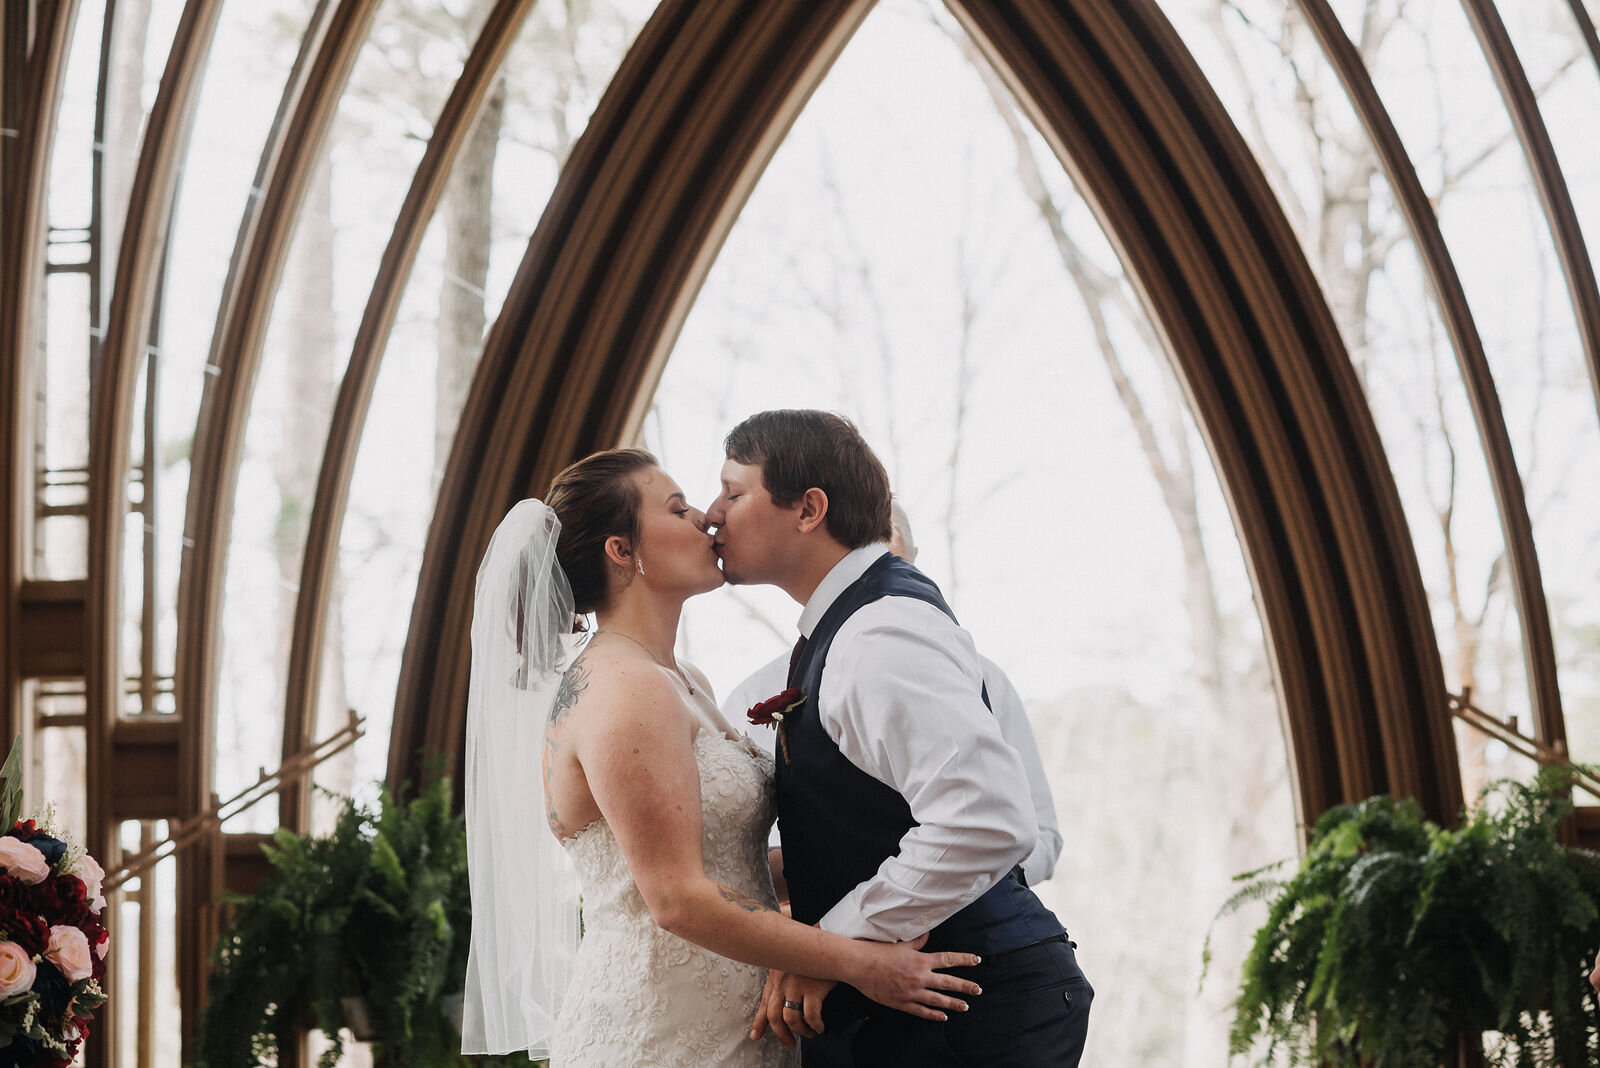
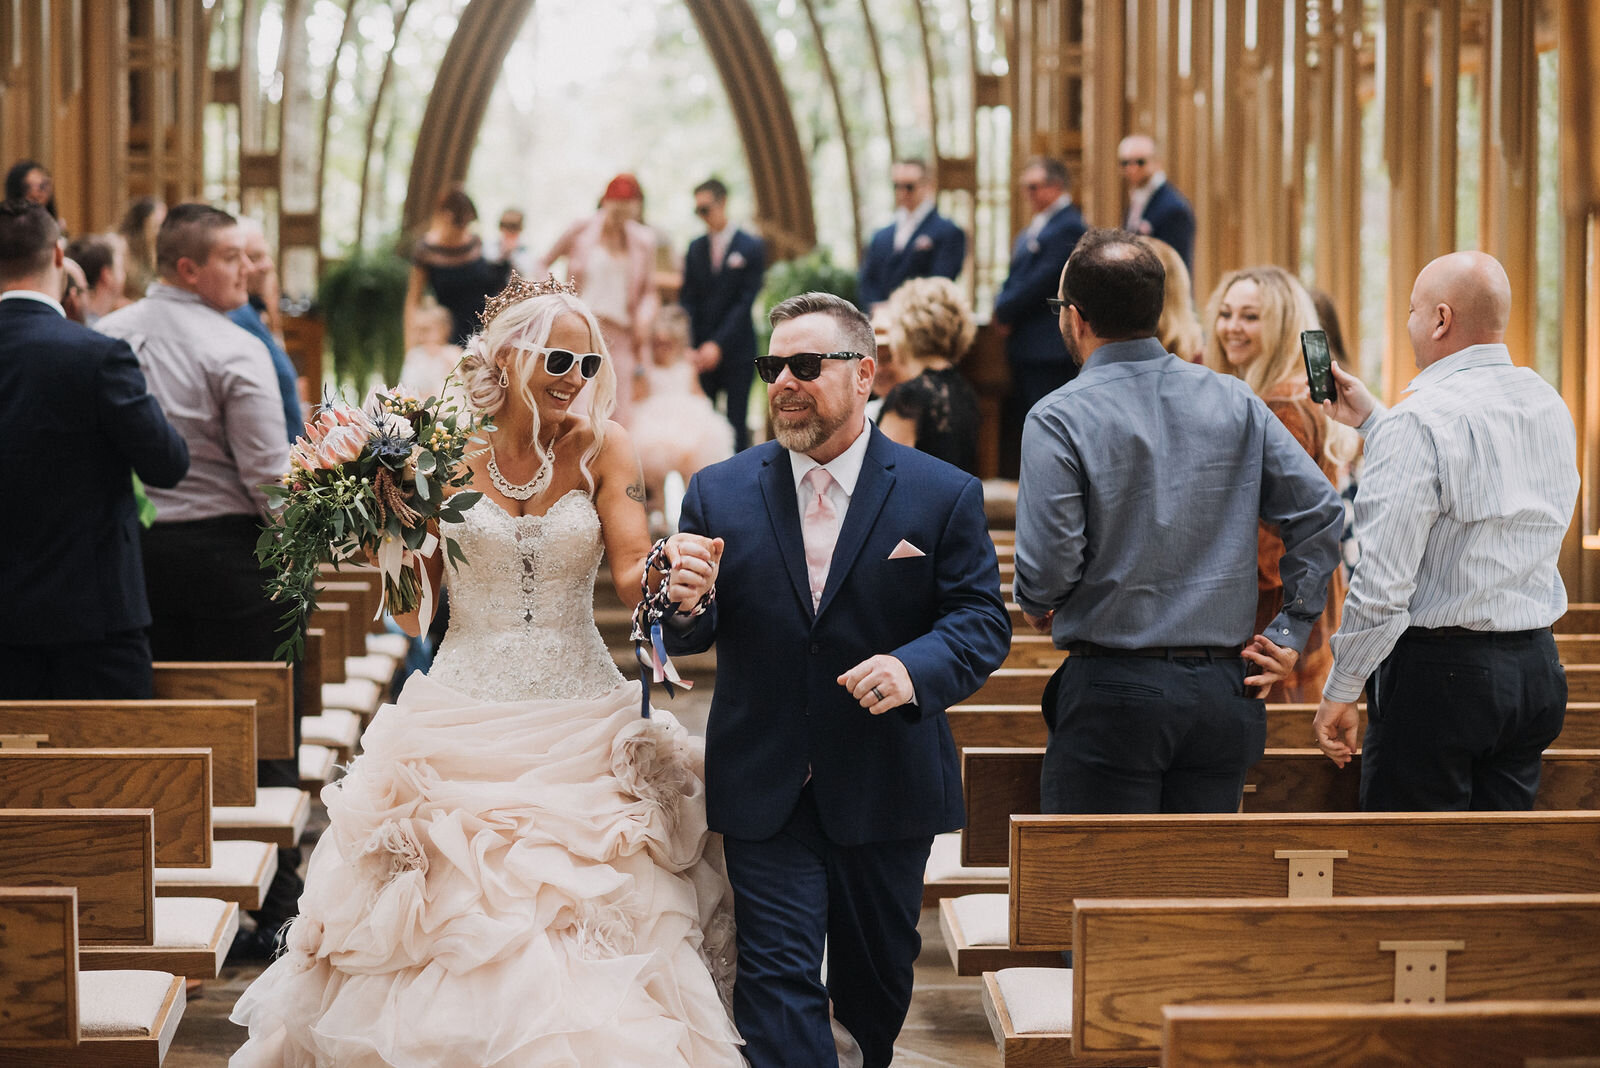
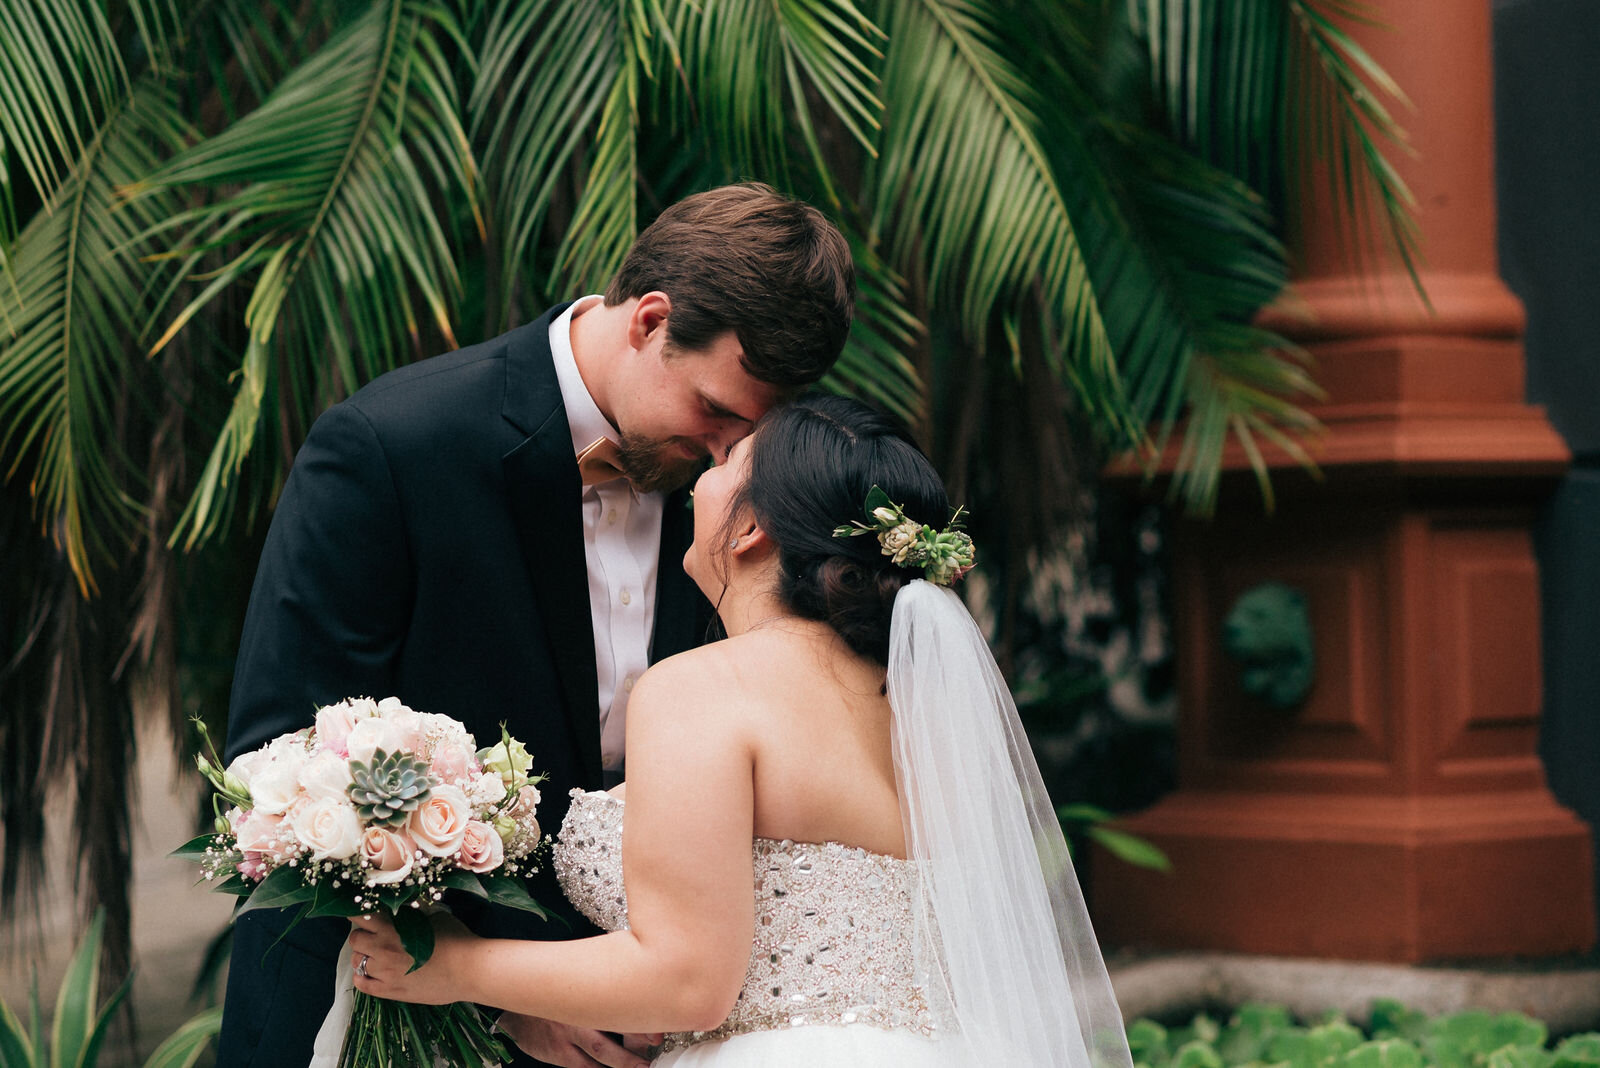
KIDD_04 - a bit of extra warmth, right when you need it
 Before
After
Before
After
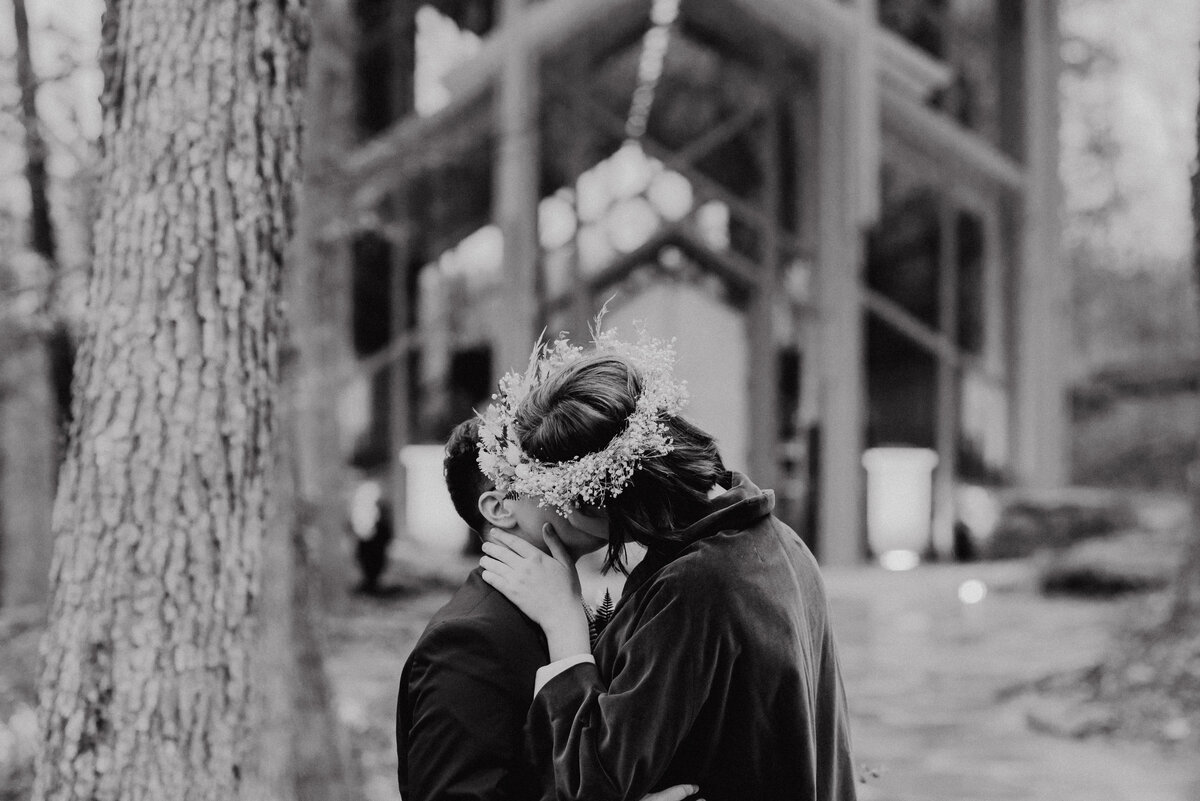
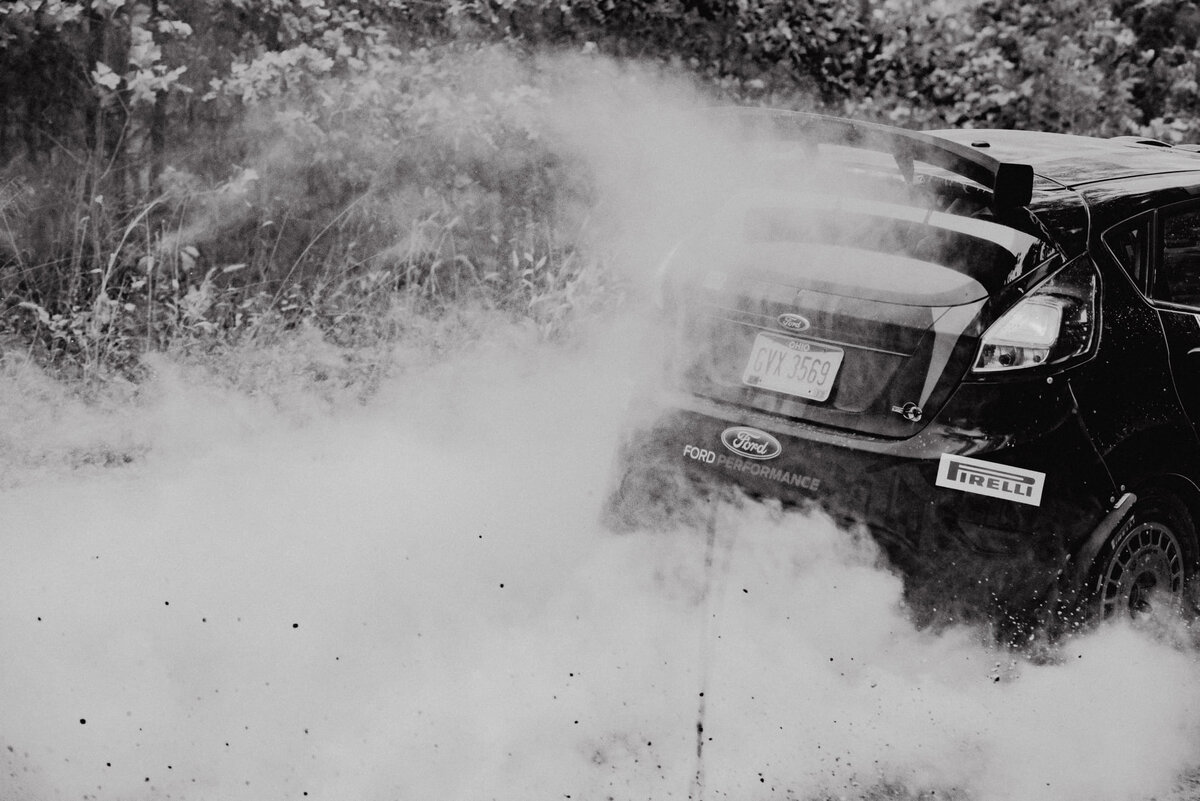
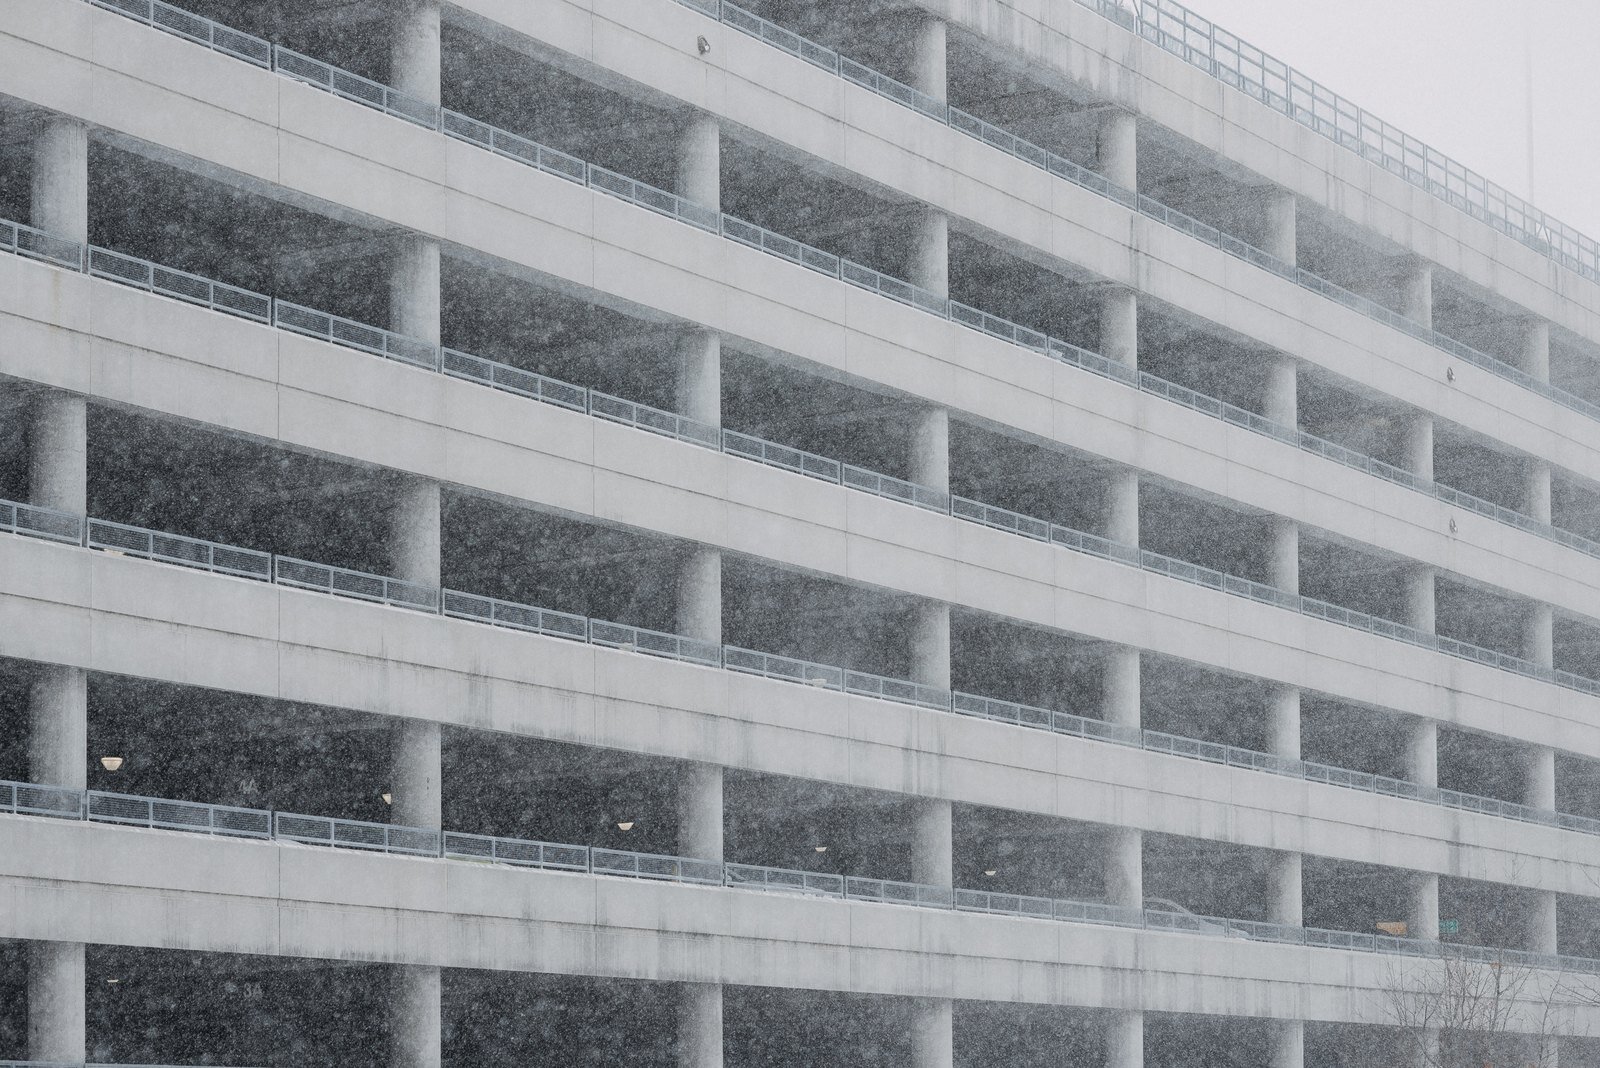
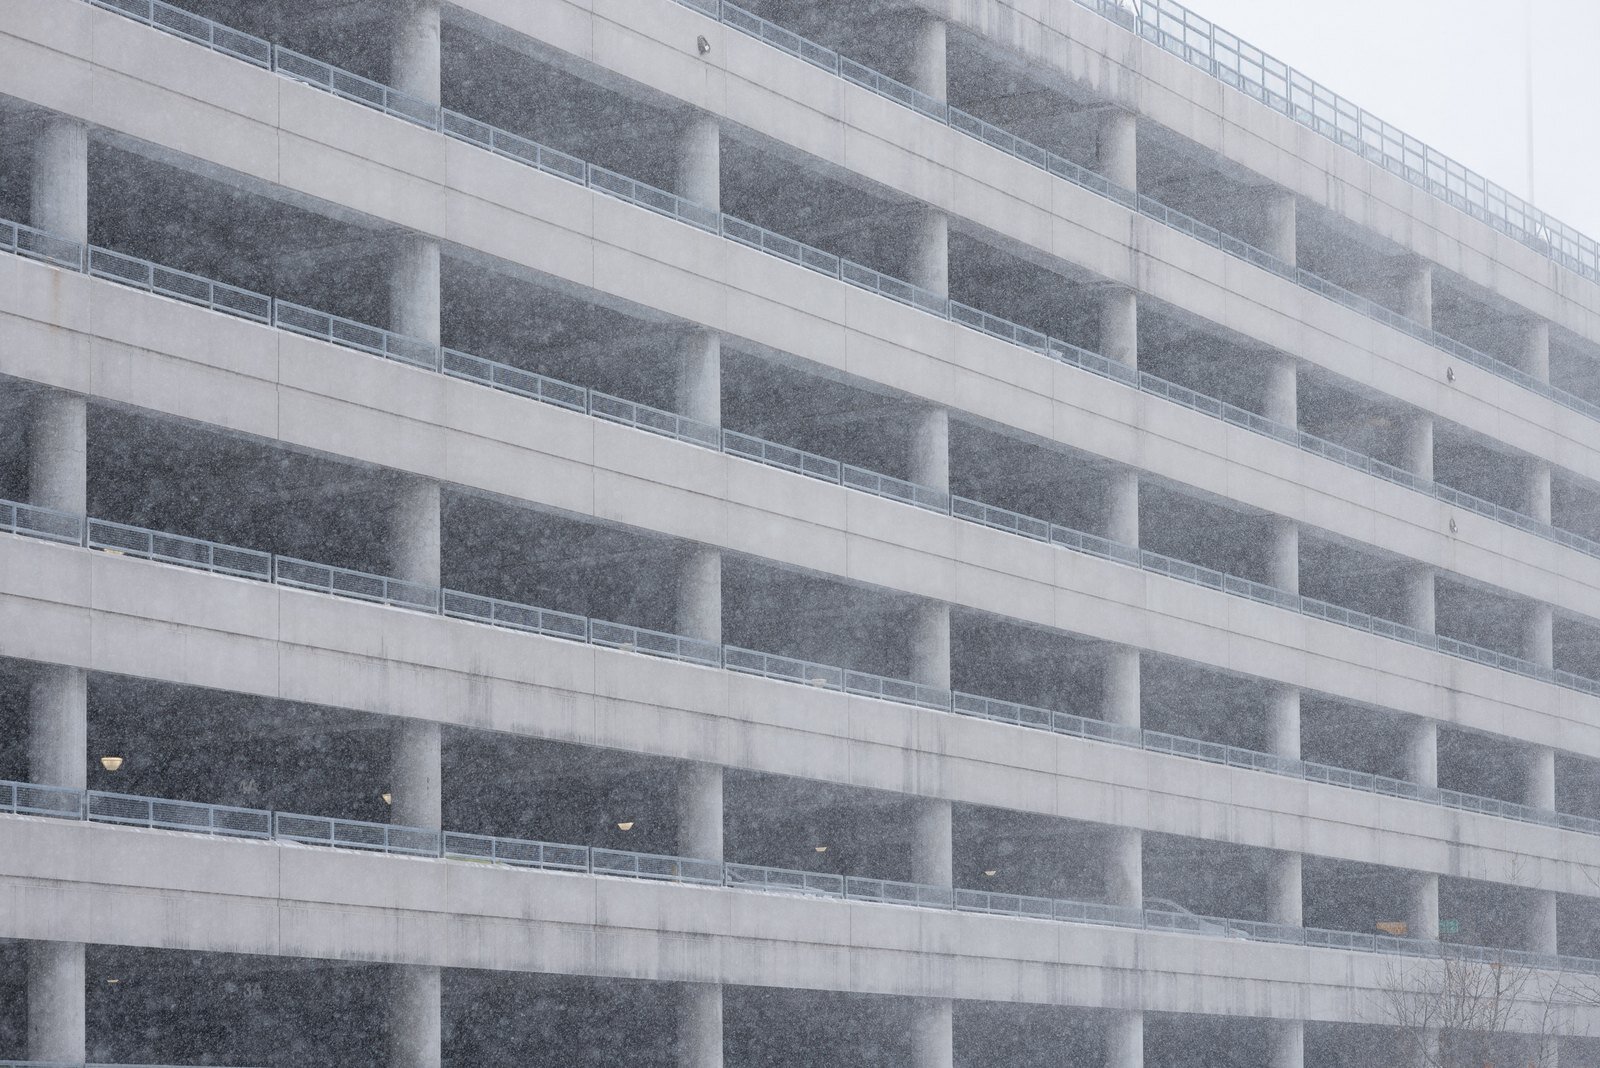
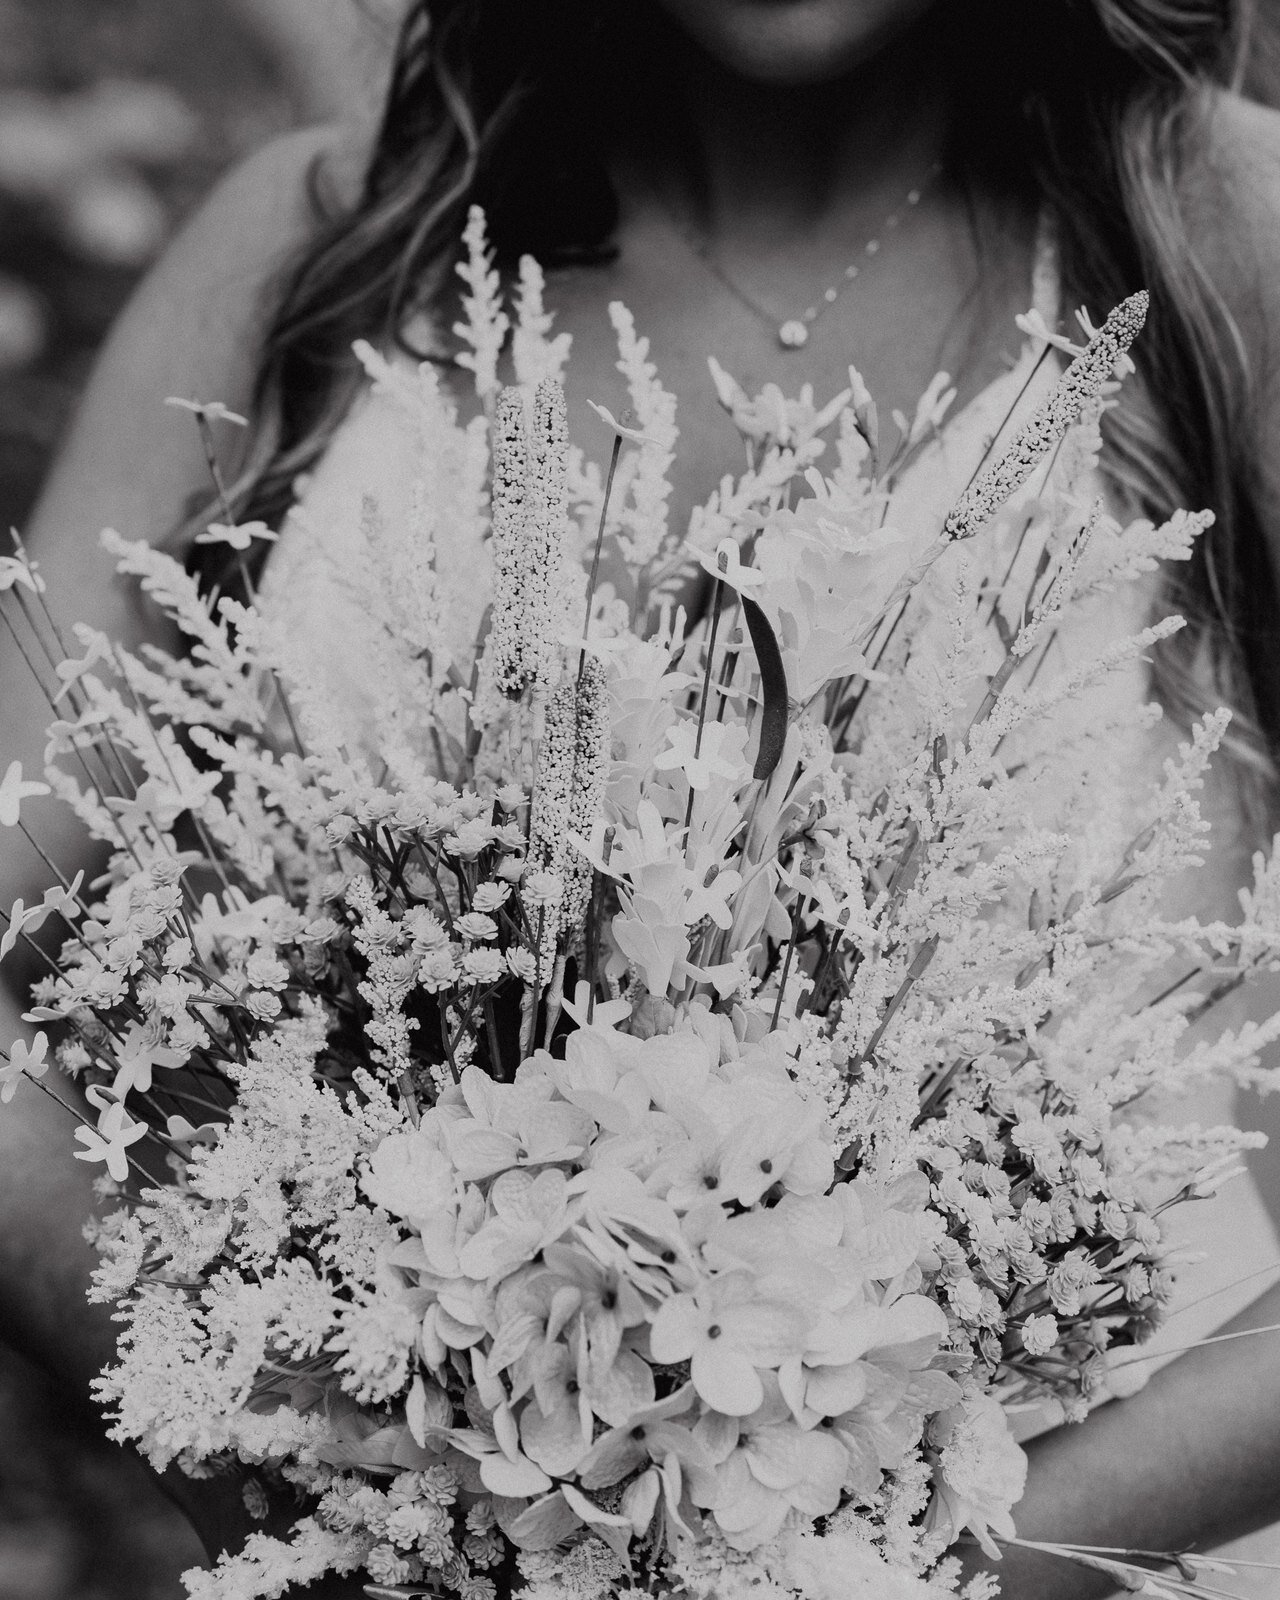
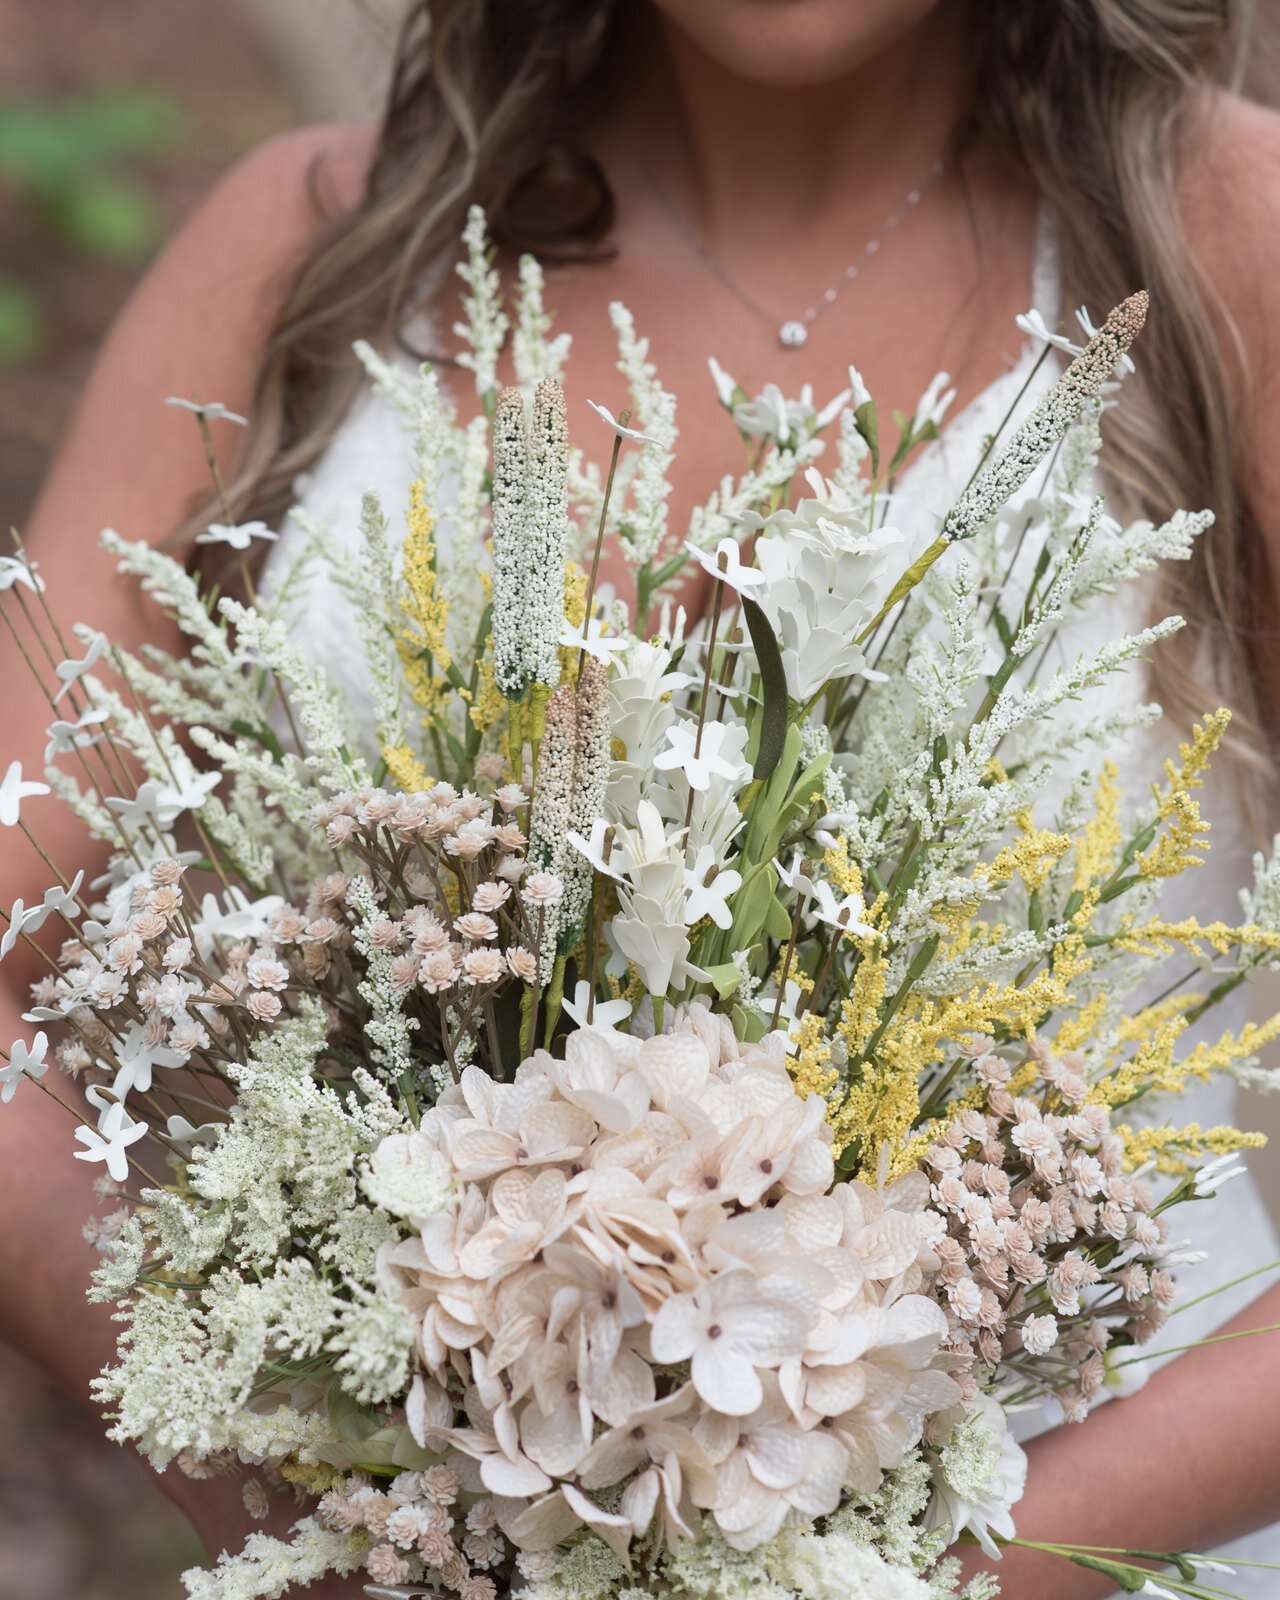
KIDD_BW - a black and white and gritty look for special moments
Instructions:
- Download the presets HERE and drop them into your Lightroom user presets folder.
- Manually adjust your raw image for exposure and white balance.
- Apply your preset and make final adjustments.